Tag Archives: crochet

Finished: Brown/Blue Blanket

IMG_2967


I ordered this awesome wool online several weeks ago with a gorgeous chunky throw blanket in mind. I brought 4 balls which were 200g each so I thought that would be enough. I started with double stranding the wool and a big crochet hook, but realized after a few hours that it would not be enough. I desperately went online to buy more wool and found it was discontinued! oh no! So I ripped out the wool and started again. I used 1 strand and a 6mm hook. The result was a lovely cozy throw with a lovely blend of blues, caramels, creams, and browns.

Pattern: http://thecrochetcrowd.com/crochet-corner-to-corner-afghan-project-youtube/

Time Spent: 24 hours over 2 weeks

Finished: West Tigers Blanket

IMG_2812

My sister is a fan of the West Tigers NRL football team. Let me clarify that, she’s a mega fan. For her Birthday I decided to make her a tiger blanket that she could use when she watches the games. Naturally the colours are black, white, and an almost fluro orange. I hate using two of those colours! But oh well, I promised. I ordered my Stylecraft yarn from Wool Warehouse which arrived super fast and in perfect condition. The orange is called Jaffa and is much more brighter than what the online picture suggested!

The pattern I’m using is corner to corner made into 4 separate squares and then sewn together. To get the random stripe effect I used a random stripe generator website. This site is great for taking the guess work out and getting some great results!

http://www.biscuitsandjam.com/stripe_maker.php

Each square is 30×30 squares. This is the perfect size for a throw size blanket.

In Progress: Chunky Rainbow Patchwork Blanket

IMG_2706


A few months ago I brought the Lucy rainbow pack from Wool Warehouse but could  bring myself to use it. I loved looking at all the squishy wool and dreaming of making something awesome. After thinking I decided to make a giant patchwork blanket. To get a chunky look I held two strands together and used a 7mm hook. Using my trusty crochet to corner pattern I set about to make squares 7×7 rows. Each ball of wool gives me 4 squares.

After a lot of maths I figured I need 15 balls of yarn to make this blanket a decent size. The squares crochet up fairly fast and it’s an easy project to carry around with you. This time I am making sure I weave the ends in before I sew them all together!

Tutorial: How to dye cotton

After my food dye tutorial a few people have asked for a tutorial using cotton. Well here it is!

For this tutorial I got all my items from Lincraft. If you’re in Australia they are the ones to use! Such fast shipping and quality cotton.

You will need:

Dylon dyes

Sunflower Yellow
Available here: http://www.lincraft.com.au/dylon-hand-dye-2
Flamingo Pink
Available here: http://www.lincraft.com.au/dylon-hand-dye-4
Bahama Blue
Available here: http://www.lincraft.com.au/dylon-hand-dye-3
Squeeze containers similar to tomato sauce/mustard bottles
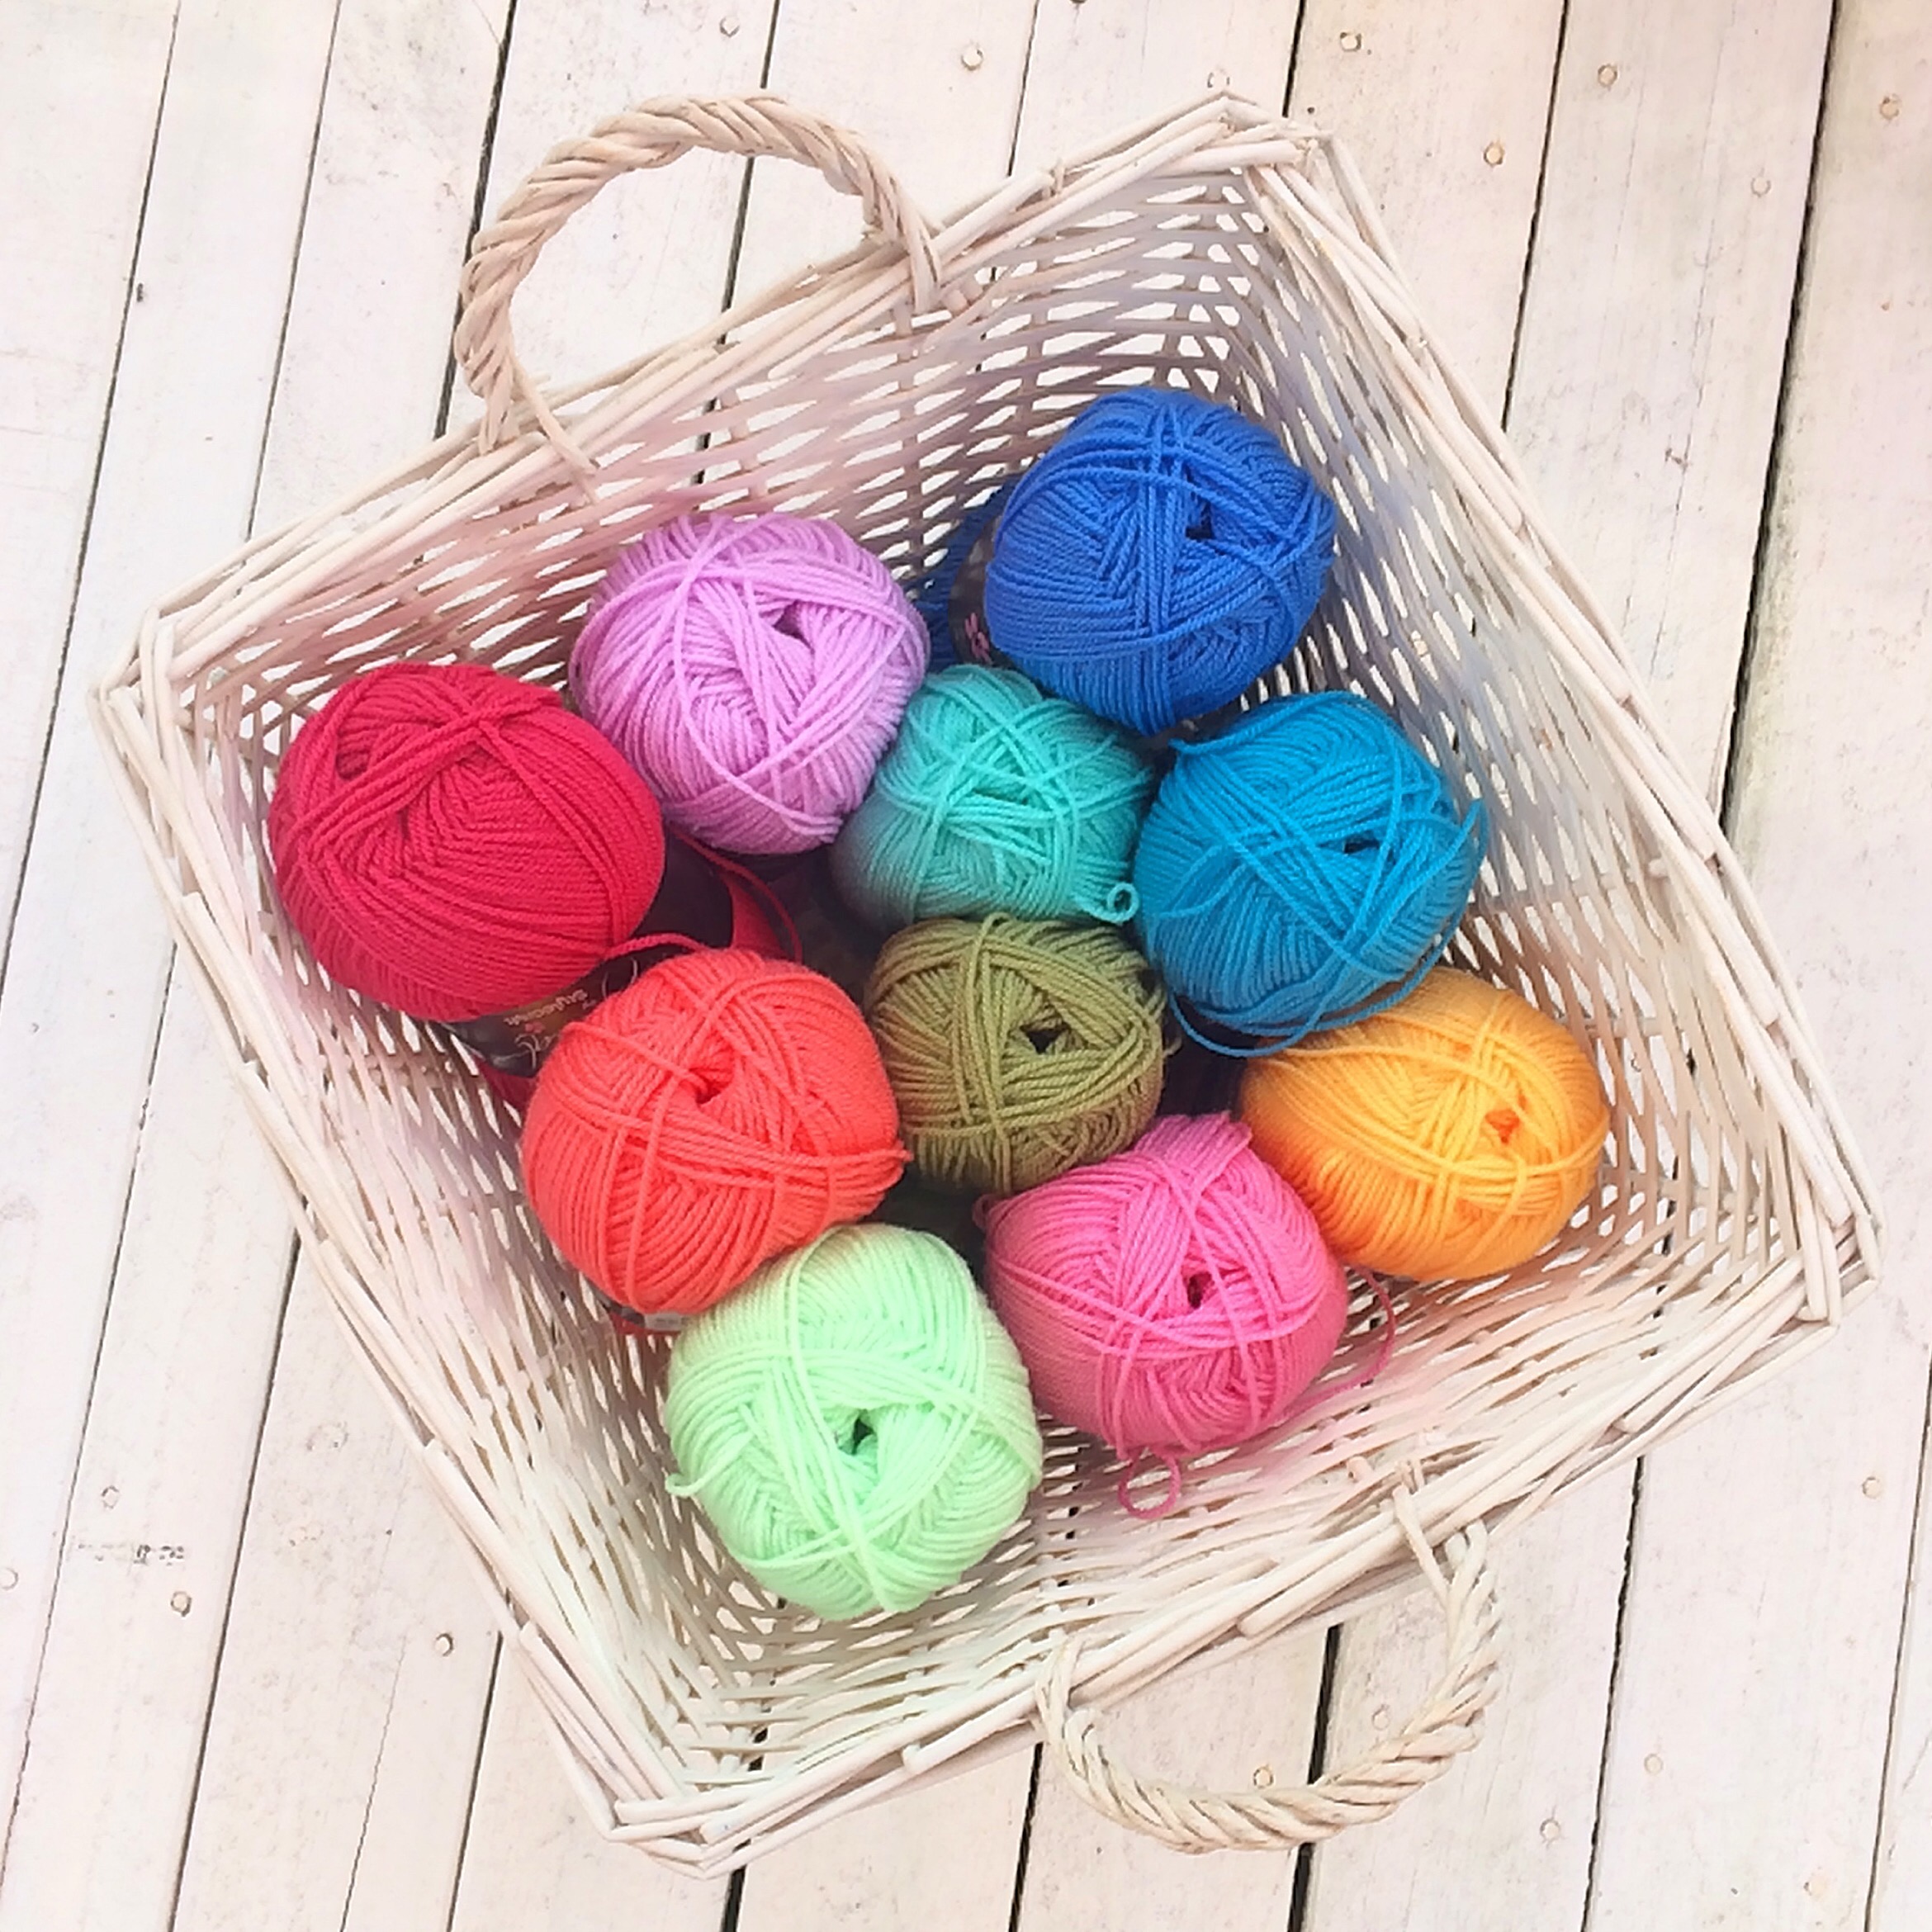
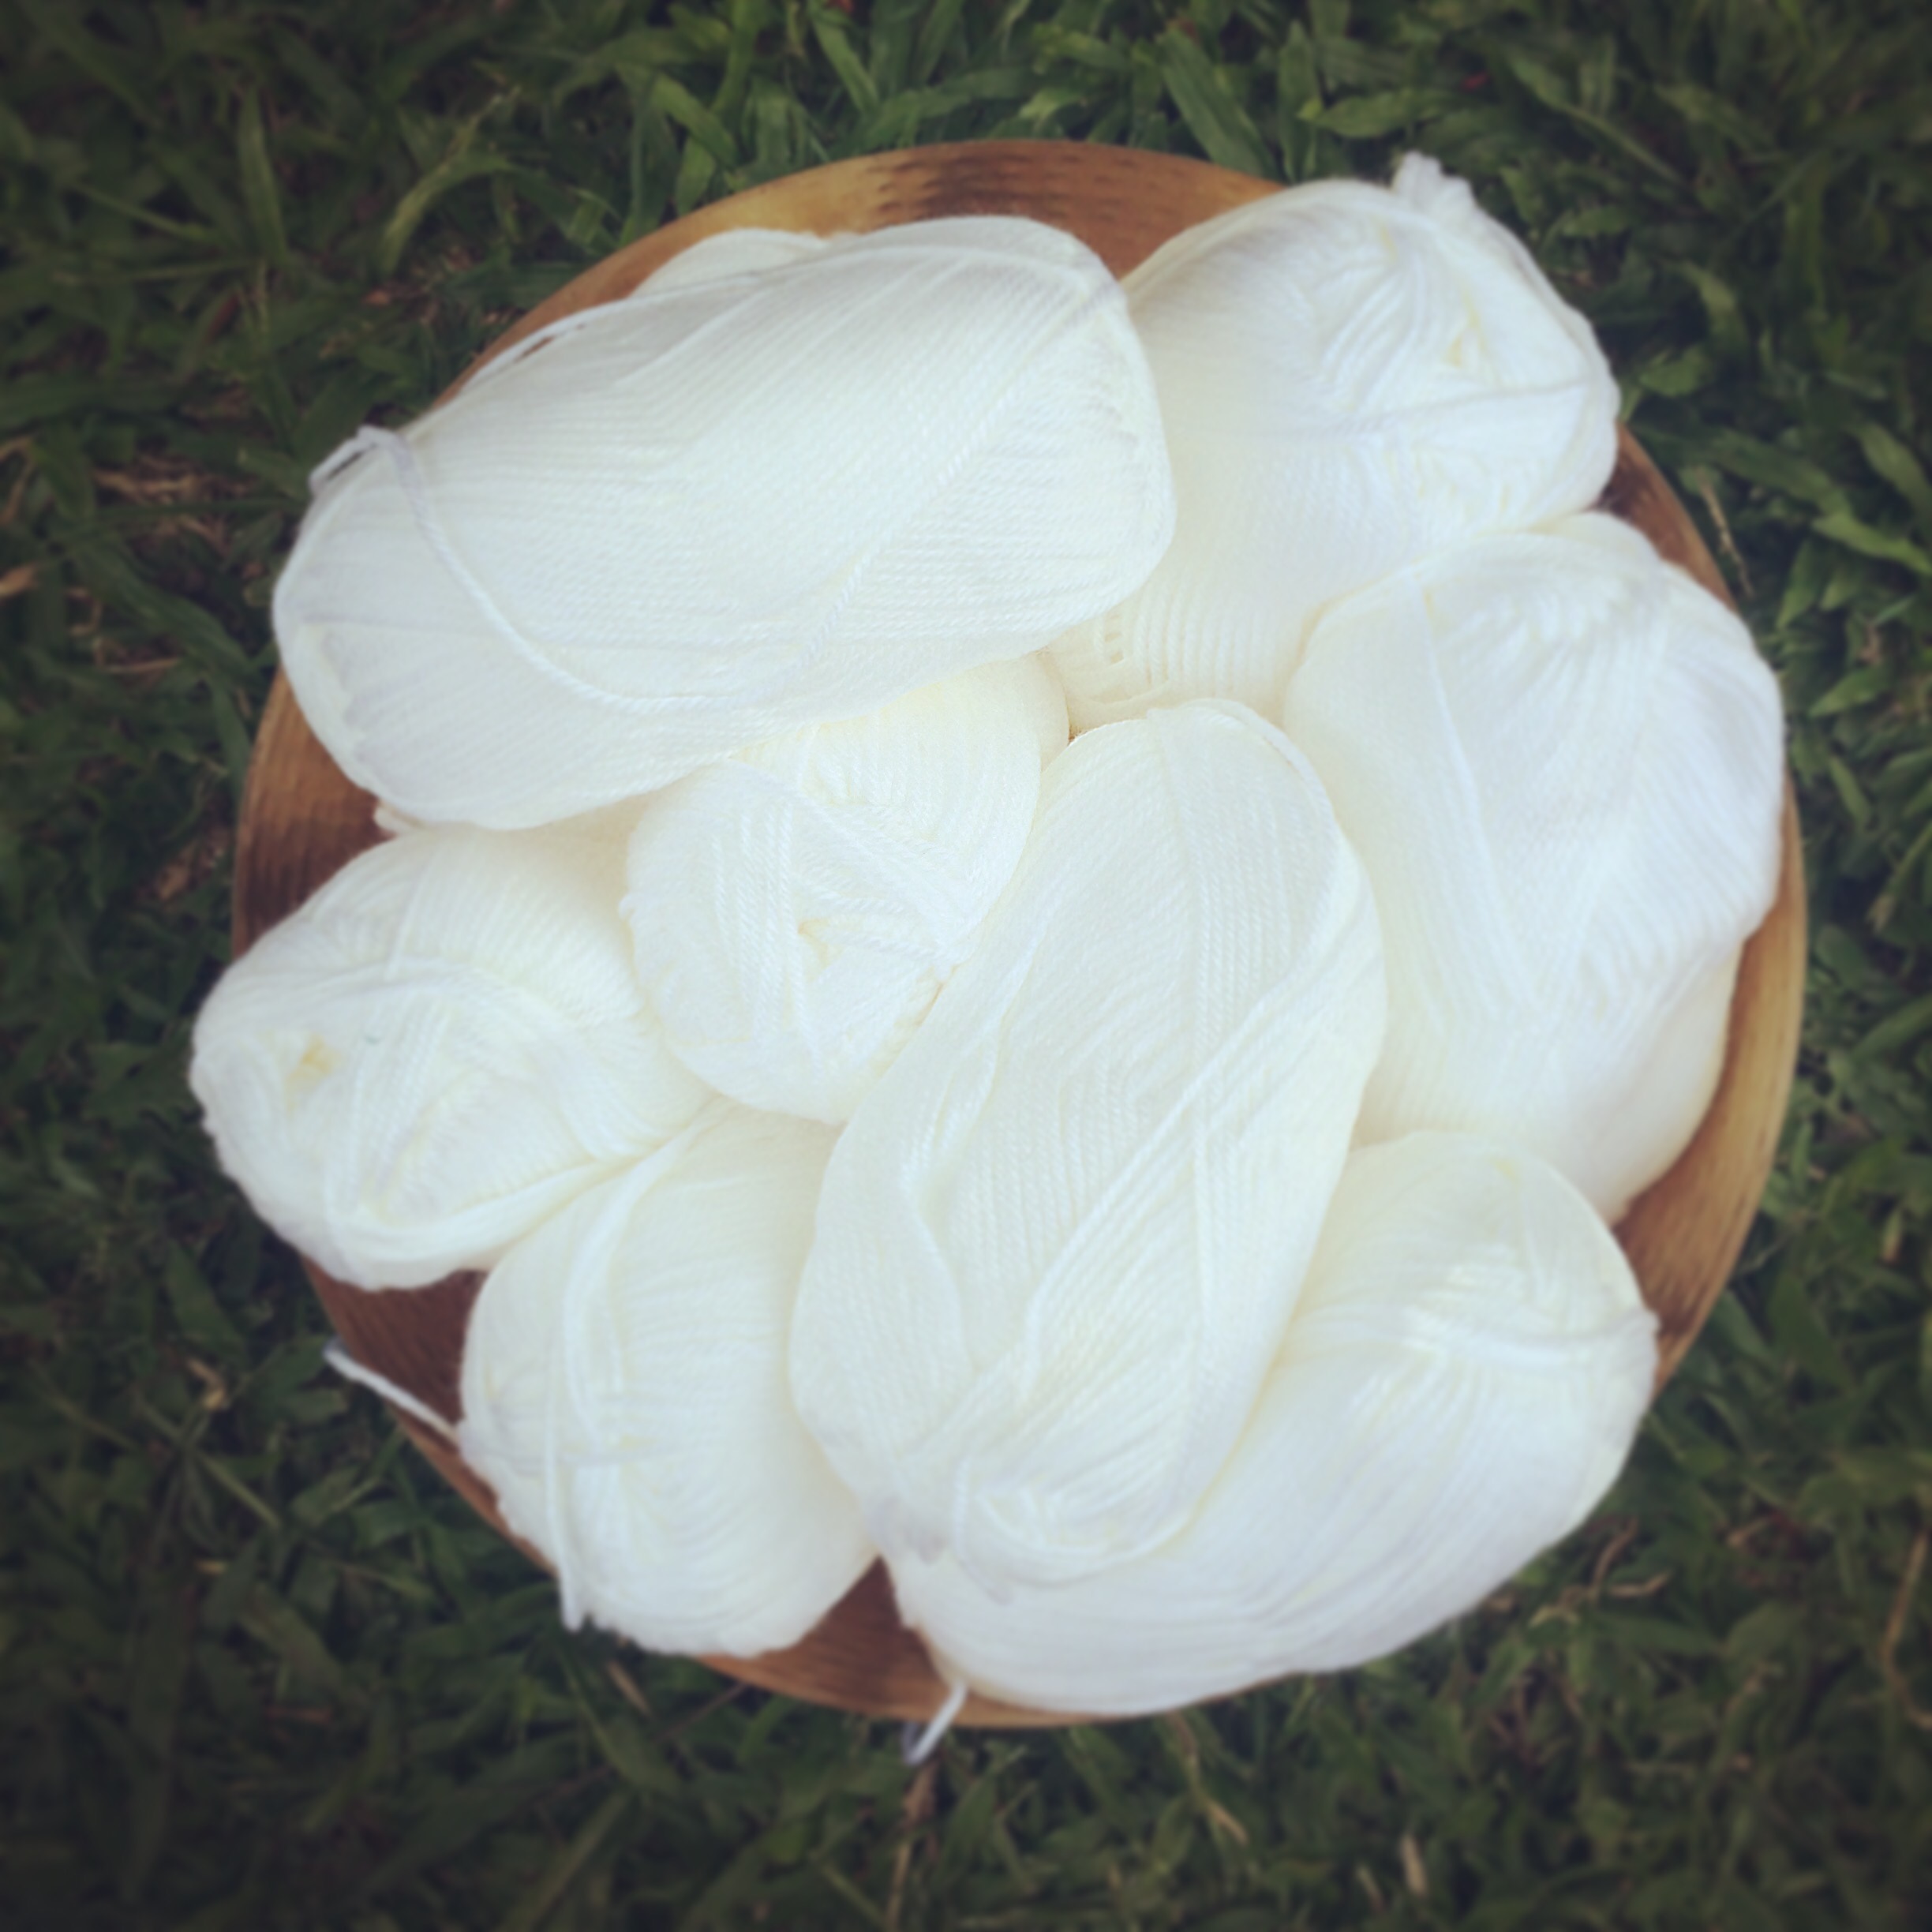
Cotton yarn
I used this one http://www.lincraft.com.au/shop/knitting-crochet/yarn/lincraft-cotton/lincraft-cotton-8ply-natural
Elastic bands
Warm water
Plastic bag
Gloves

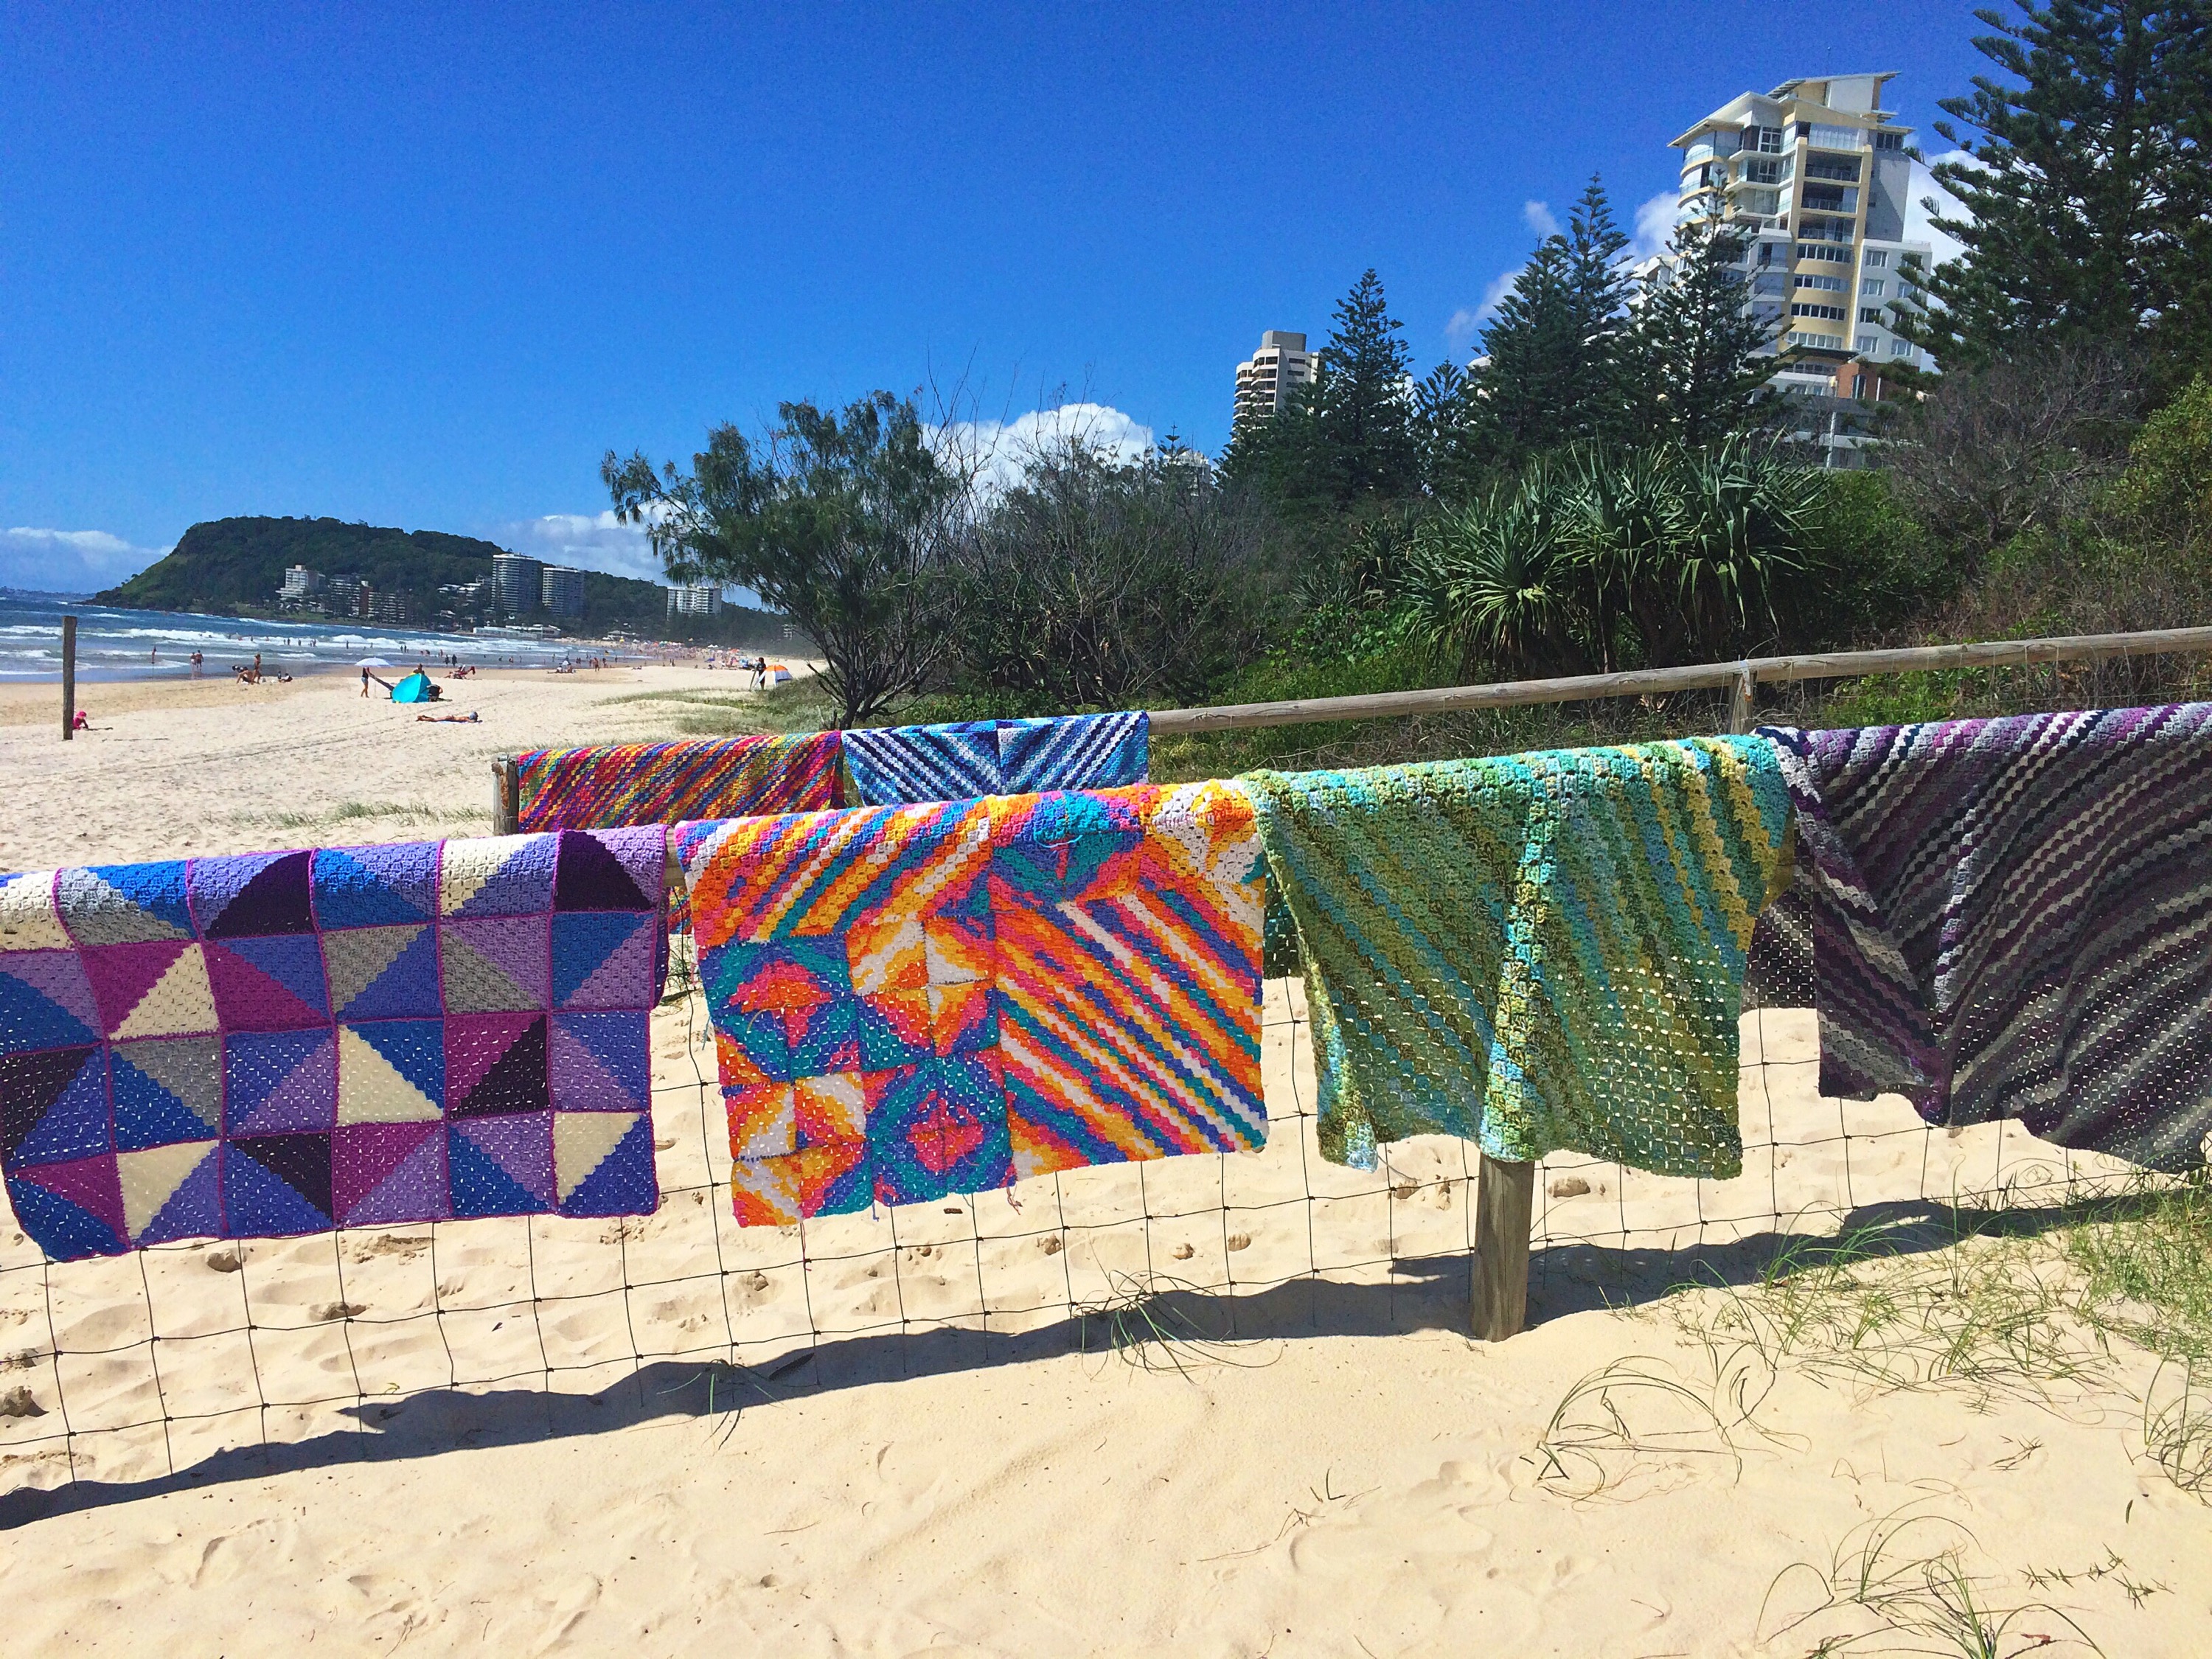
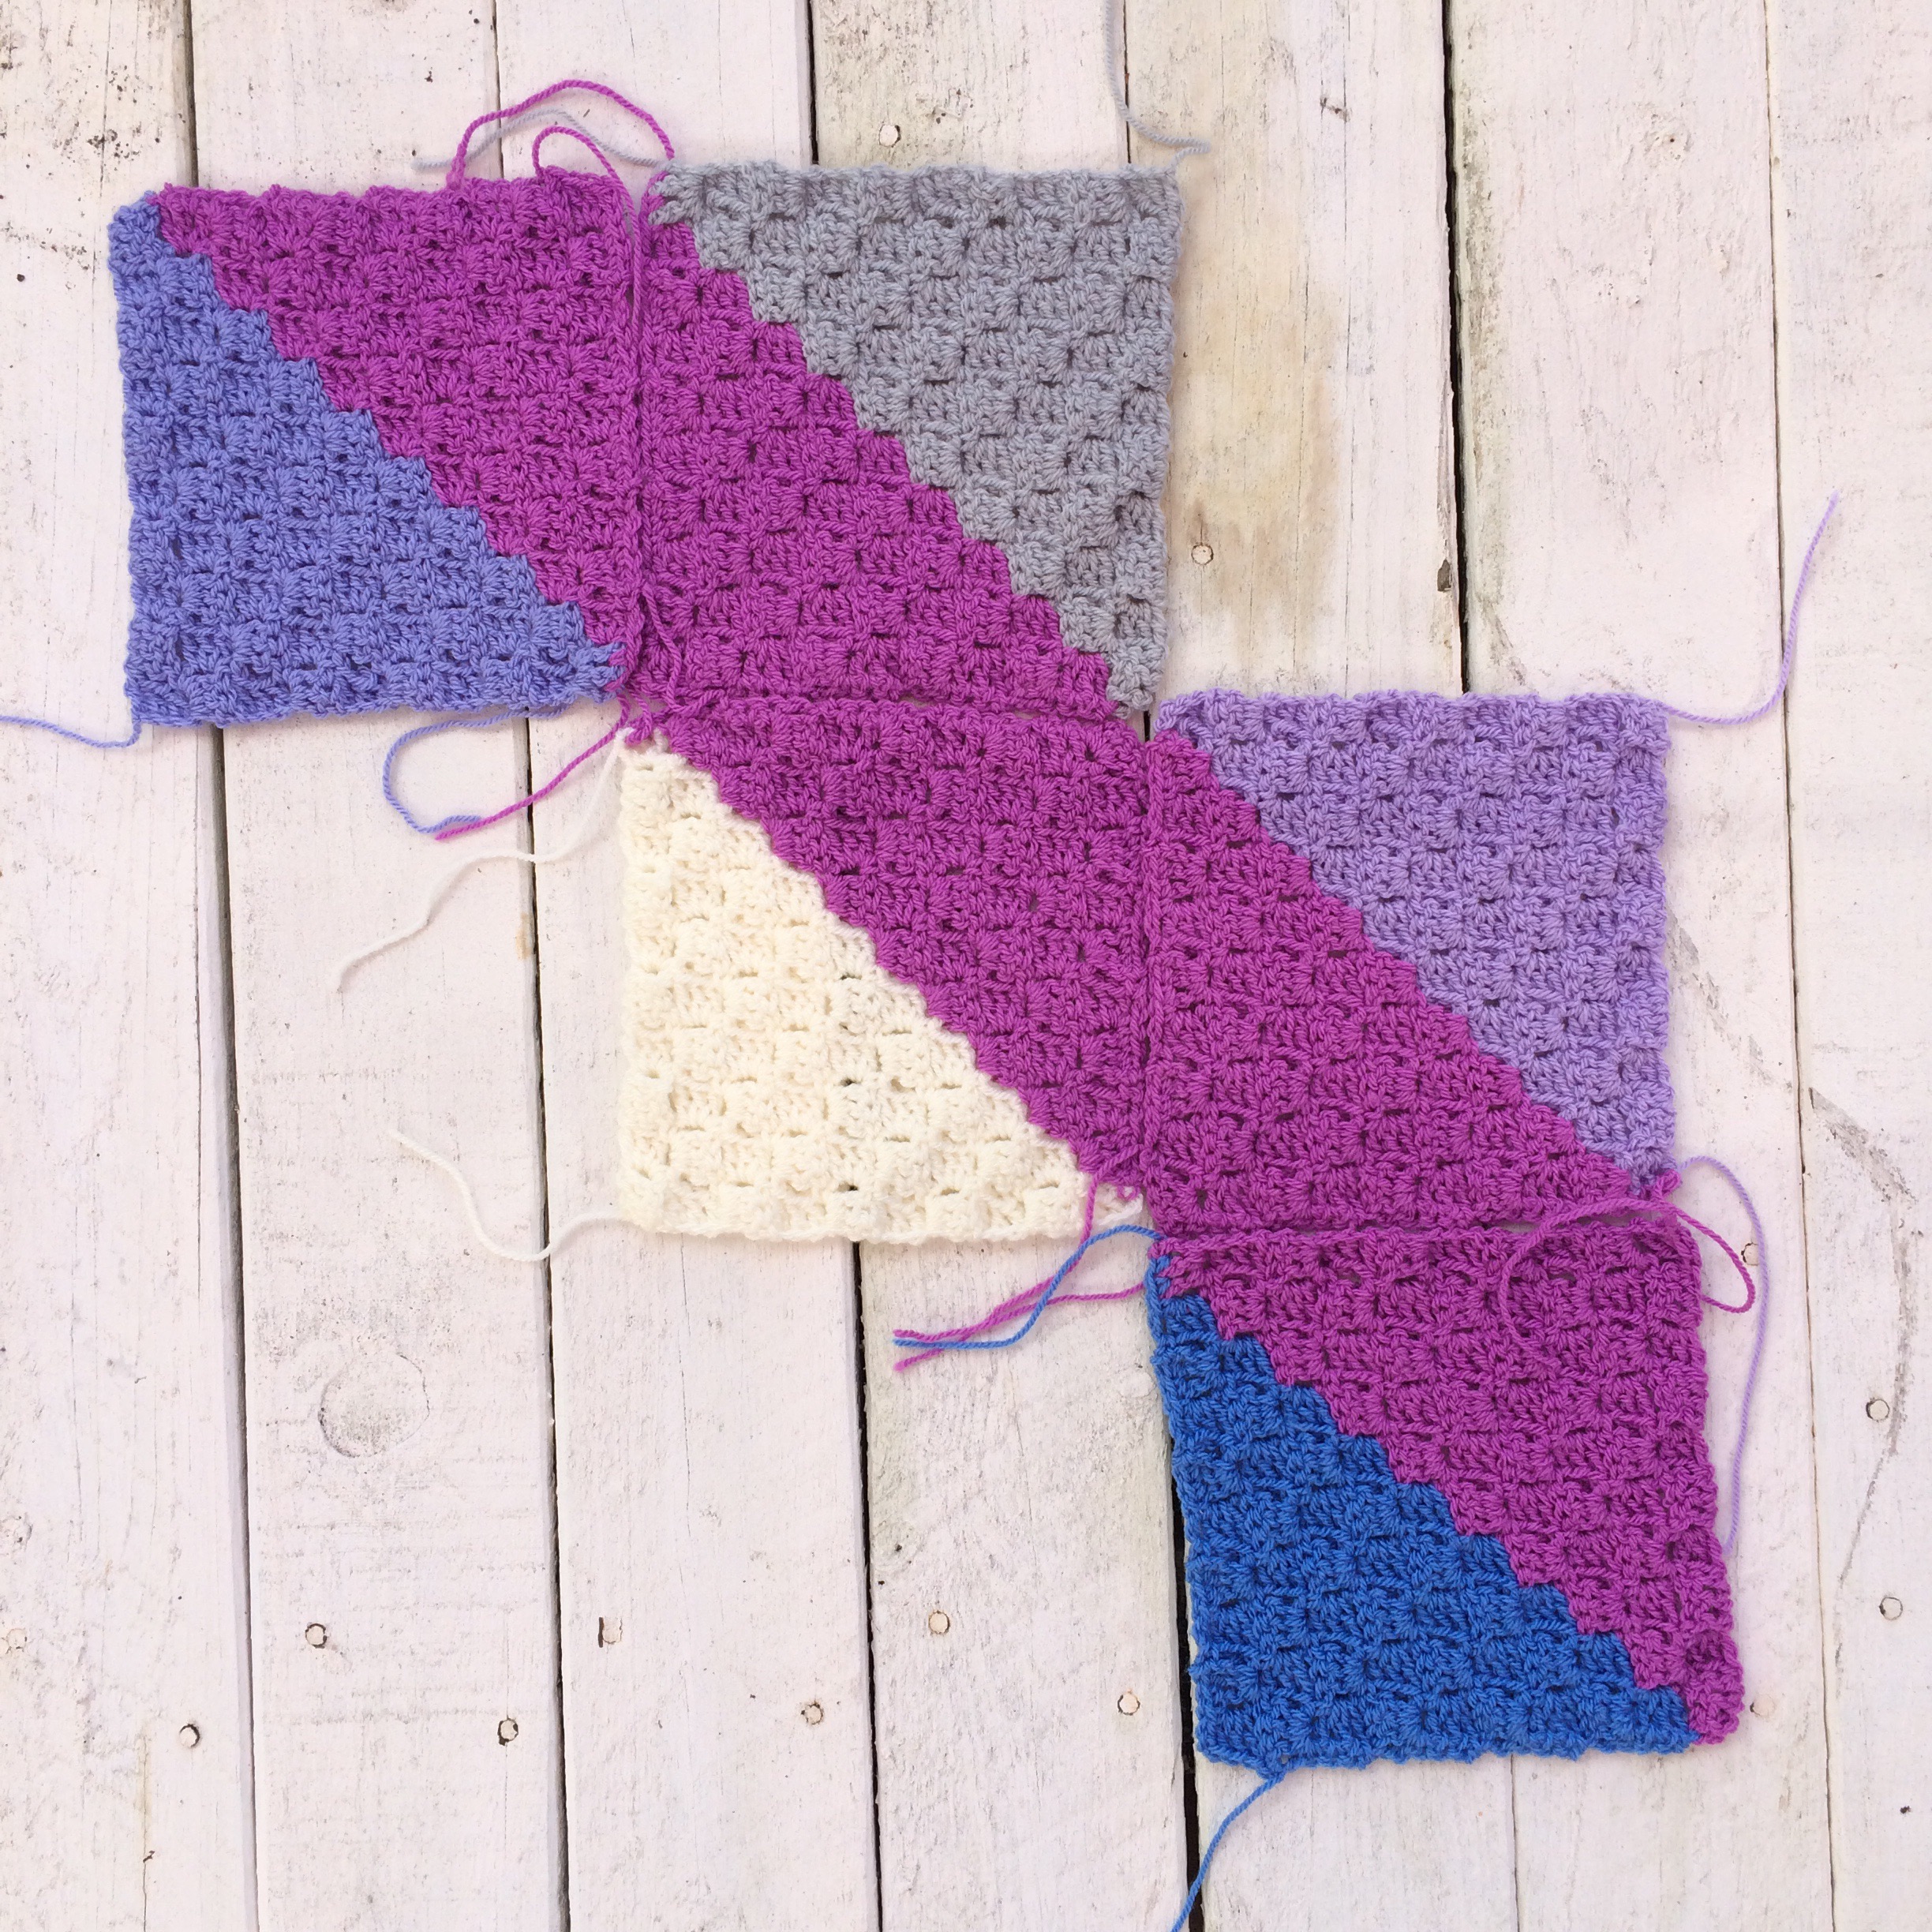
I began with crocheting my squares, but you can also dye the uncrocheted item. I love the chunky look so doubled the yarn and used an 7mm hook. Once everything is crocheted up it’s time to prepare for dyeing!

There are several ways to dye cotton, and my way is just one of many. I found it worked for me, but experimentation is the key.

Once again, I did this outside as the dye is unforgiving.

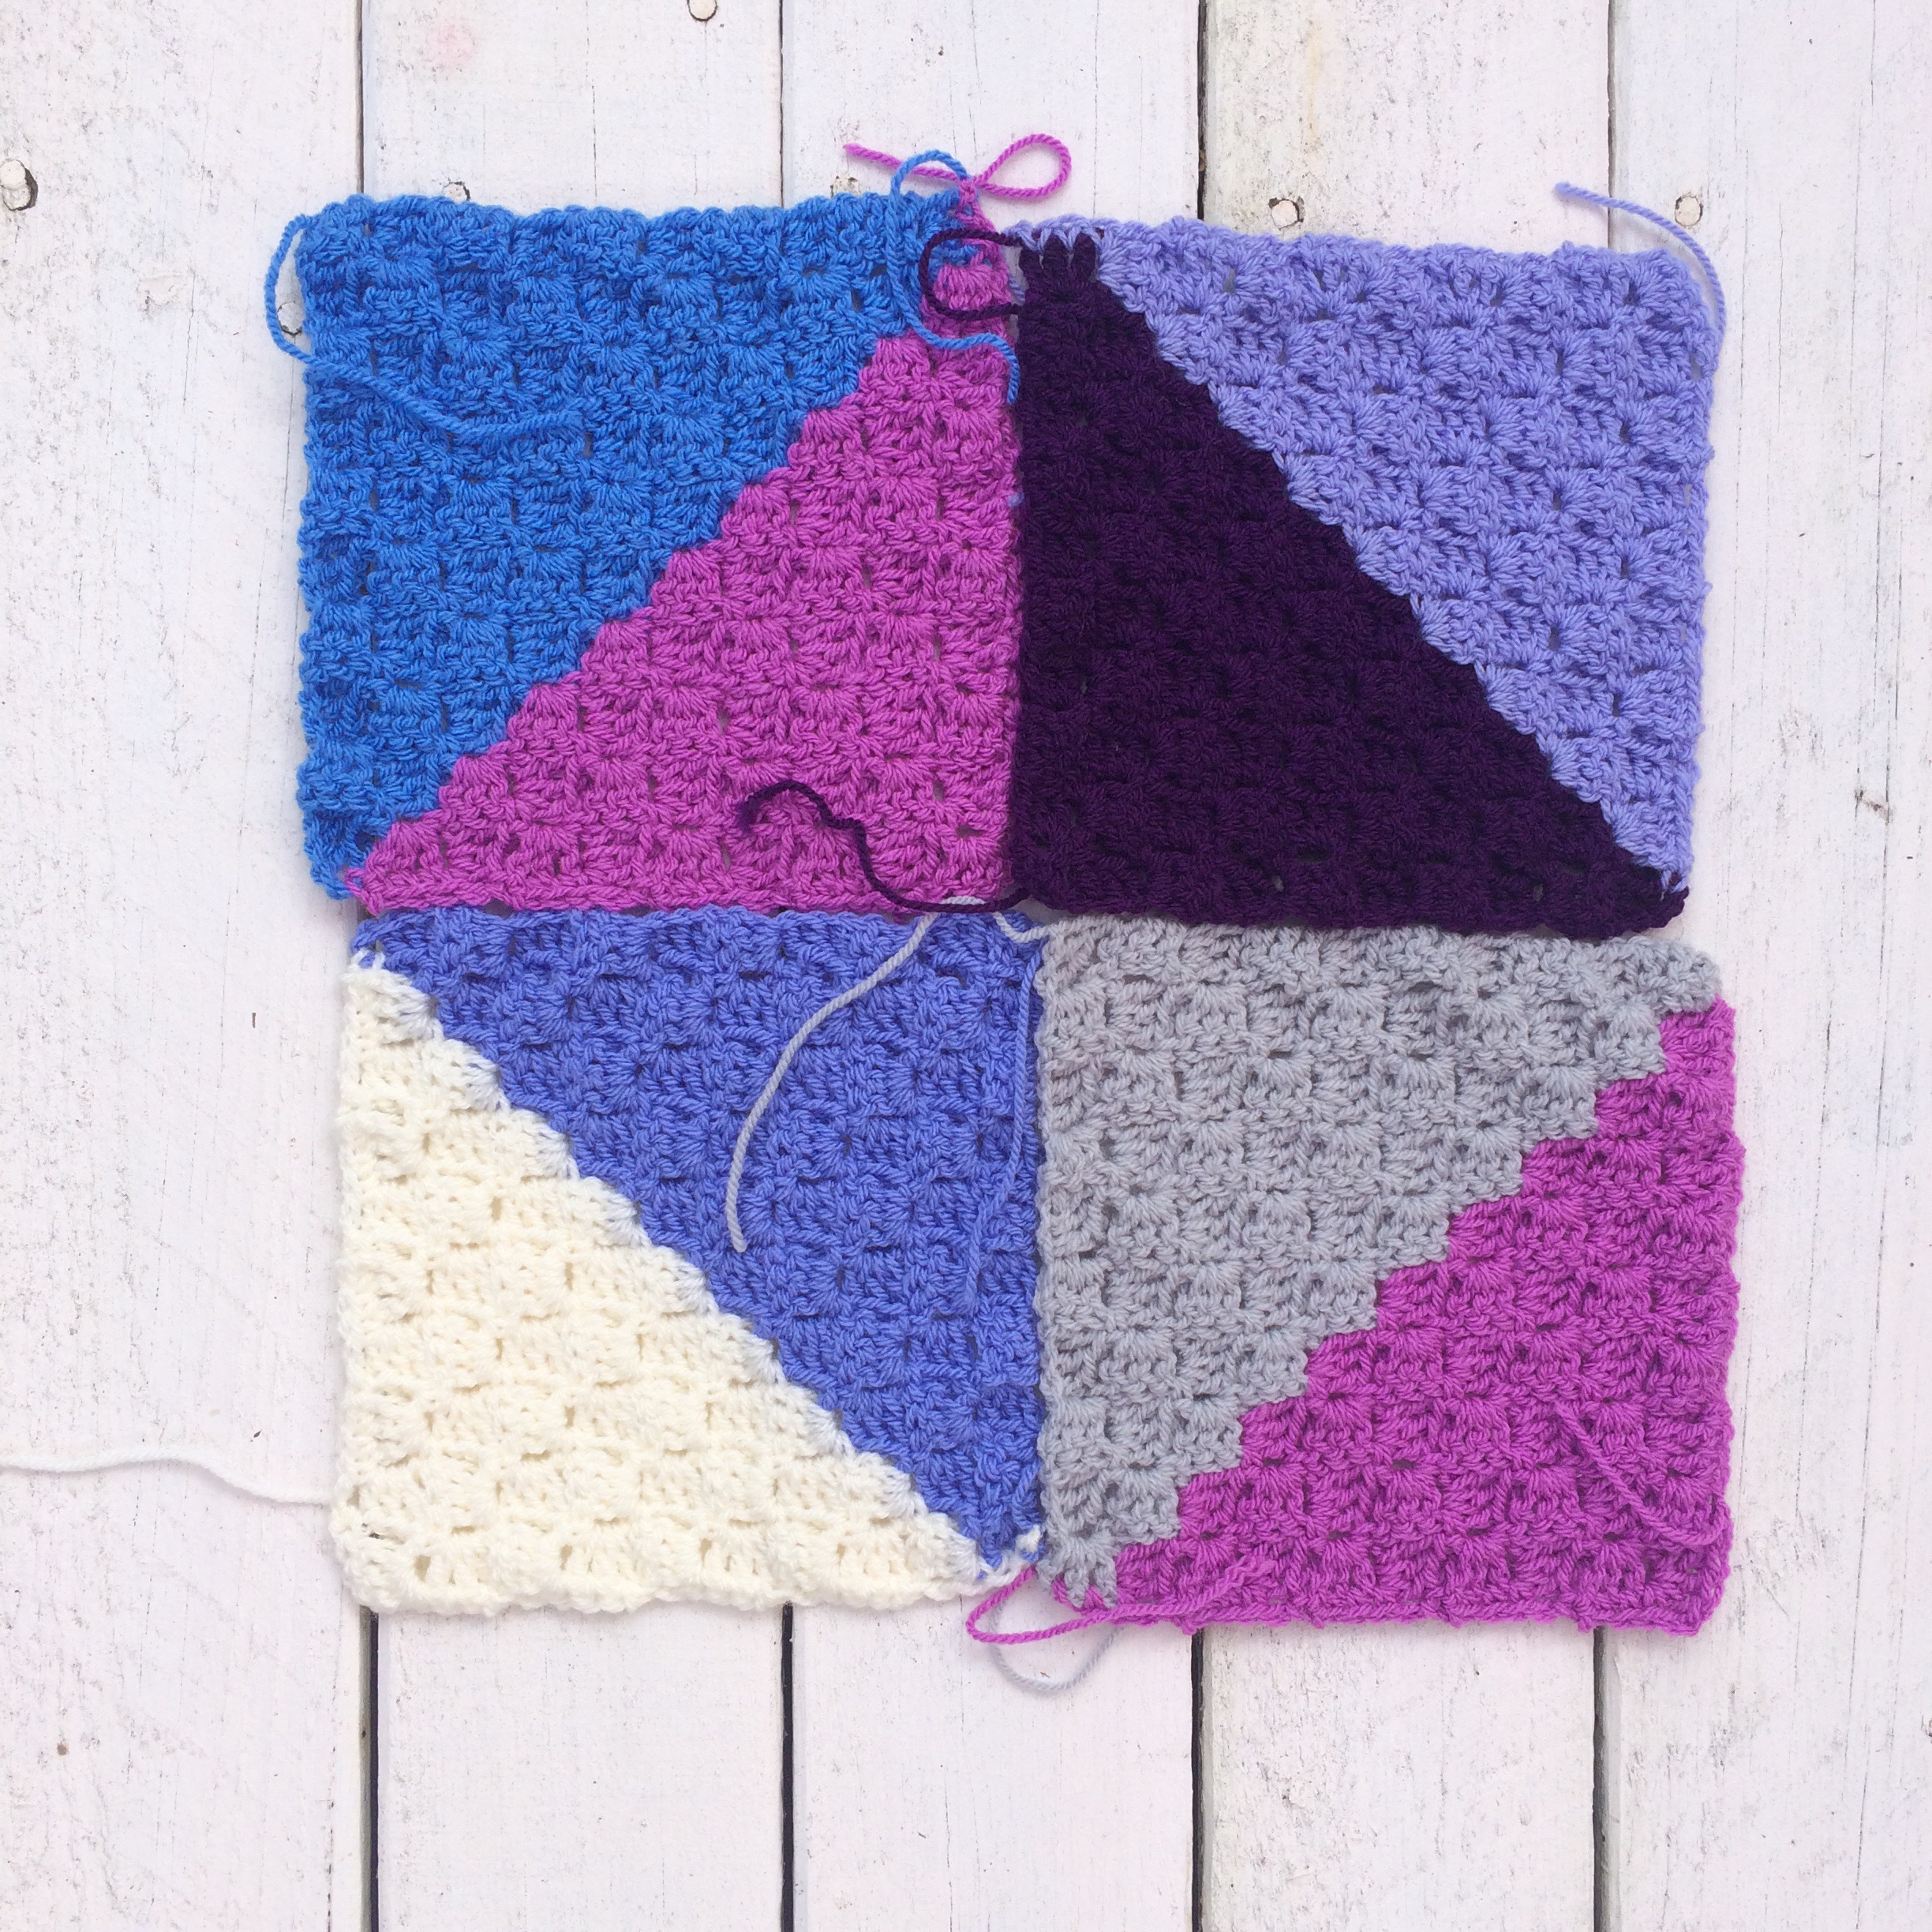
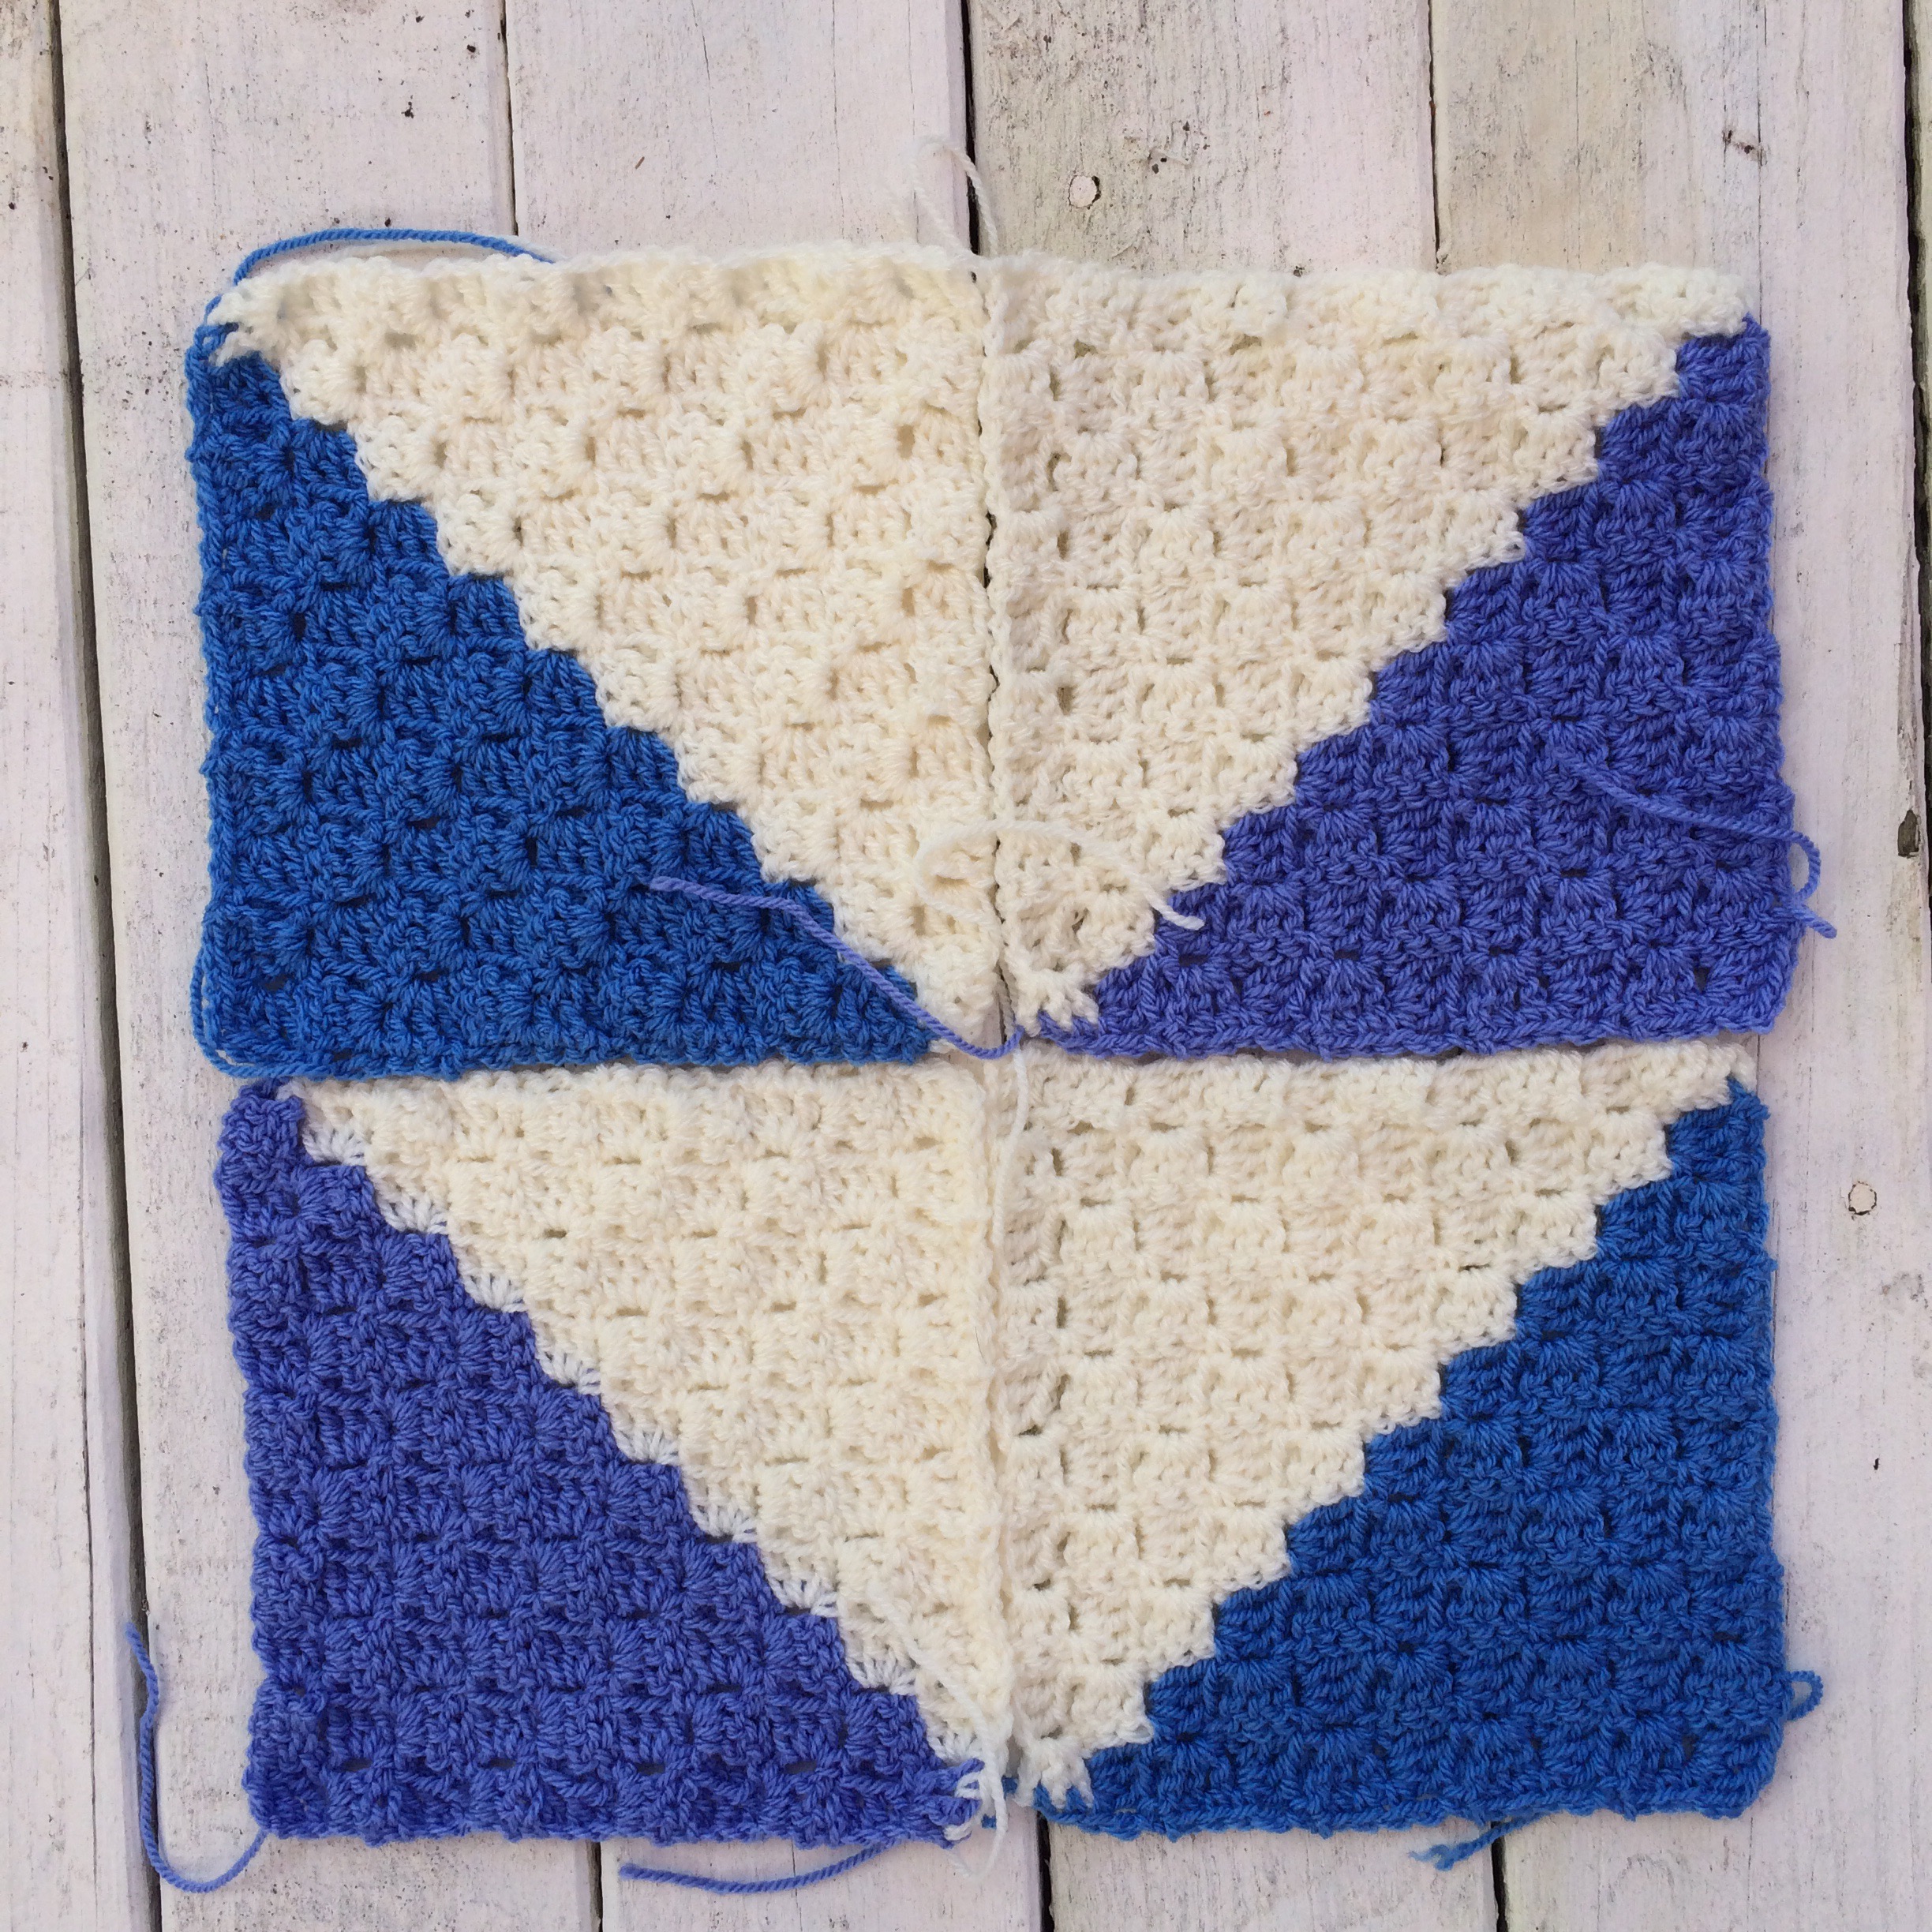
I wrapped my crochet squares with elastic bands. This was basically to keep them together for the first stage. Don’t worry too much and you don’t have to do this step if you don’t want to.

Next I mixed the dyes with warm water. Always follow the directions on the packet, but in this case I mixed one pack with 250ml water. I put this into the squeeze containers. Make sure it is well mixed! The containers make it easier to control the dye and is different to traditional dyeing where you submerge the item into a bucket of dye.

Now if the fun part, make sure your gloves are on!

Pour the dye into the cotton. Small amounts at a time until you are used to it! There is no right or wrong way. I found adding a tiny bit of water and squeezing the dyes together gave a really nice effect and helped them blend. I then cut the elastic bands off and filled in the remaining areas  with dye. Keep going until you are happy with the results.

Place your item into a plastic bag and leave overnight where cats/dogs/small children cannot get at it.

Rinse the item in water until the water runs clear. Place somewhere to dry and enjoy!

The result is unpredictable and amazing! I love playing with colours and seeing what happens.

I’ll turn these into cushions so stay tuned for photos!

Finished: White Chunky Blanket

IMG_2499


Finally done with this blanket! Only using one colour was a challenge and it did get boring after a white. I used two strands of aran weight yarn held together with a 15mm hook that I had to buy from Ebay.

My cousin requested a grey border so I used Stylecraft Aran weight yarn in silver and an 8mm hook.

I did my usual corner to corner pattern and just single crochet around the border. This crocheted up quickly due to using a giant hook and chunky yarn. I can’t wait to get back to my colourful blankets!

Pattern: http://thecrochetcrowd.com/crochet-corner-to-corner-afghan-project-youtube/

Yarn: http://www.loveknitting.com/red-heart-soft
http://www.woolwarehouse.co.uk/yarn/special-aran-all-colours

Finished: Valentines Blanket

IMG_2390

Words cannot describe how much I love this blanket. The photos don’t do it justice. I used the wool I dyed using food colouring so there is a real hippy vibe to it. I wasn’t sure about the various colours when I started to make this and seriously thought about frogging it and starting something else. But I continued. It wasn’t till I was finished and I took a look at the completed blanket that I realised how unique and beautiful it actually is. I used a 7mm hook and my fave corner to corner pattern. One of the befits of this pattern is when you only have a limited number of balls of wool. Simple divide in half and use of half to increase and one to decrease.

A creative Spin On Corner To Corner

The corner to corner pattern is really simple and quick to work up. By simply changing the direction of the square there are endless possibilities and ways to create something unique. These blankets require a bit of planning but the results are amazing. I like to make squares 10 rows x 10 rows and change colours half way through. There are no rules with these blankets and it’s easy for your creativity to take over!

Idea 1.

This is great for a feature colour. The diamond pattern would look great repeating over the blanket!

IMG_1602
Idea 2.

This would make a chevron style blanket. Use two colour for a bold look, or choose 1 bold colour, and 2 similar shades for a cool 3D look. IMG_2169

Idea 3.
With a big of planning on paper before you start this blanket would look fantastic! Imagine bold diagonal lines! There are several ways to customize this blanet too, choose 1 bold colour and have the diagonal line repeat every second ‘row’ or have the whole blanket as several diagonal lines!


IMG_2170

Idea 4.
This is a cool design which looks best with 3 colours. Choose 2 similar colours for the centre and 1 bold colour for the outside. You can also customize this by having another set of colour and creating a checkerboard effect.


IMG_2171

Idea 5.
This is an awesome idea to make a colourful blanket with bold shapes and lines. The repeating pattern would look great or mix it up with another set of colours.

IMG_2172


Tale of the white blanket

ThatGirlWhoCrochets-WhiteWoolMy cousin came to me to ask to a blanket for her new lounge. Delighted I asked what colour she had in mind. Imagining lovely blues, green, and greys, my dreams were slowly dashed when we requested white. Why? I thought to myself! At least it’s not solid black, in which case I would have sent her a bill for my glasses which I would have needed! After trying to talk her out of it, and failing, I began to look for some yarn. She requested a chunky blanket, which is good because i’ll be able to finish it quickly! I found this Red Heart yarn on http://www.loveknitting.com and quickly ordered it! Super fast shipping too, especially to my island home! So 12 lovely squishy soft balls of yarn are in my possession. They are aran weight so should crochet up lovely and thick. Wish me well as I bravely step into the world of an all white blanket!