A creative Spin On Corner To Corner

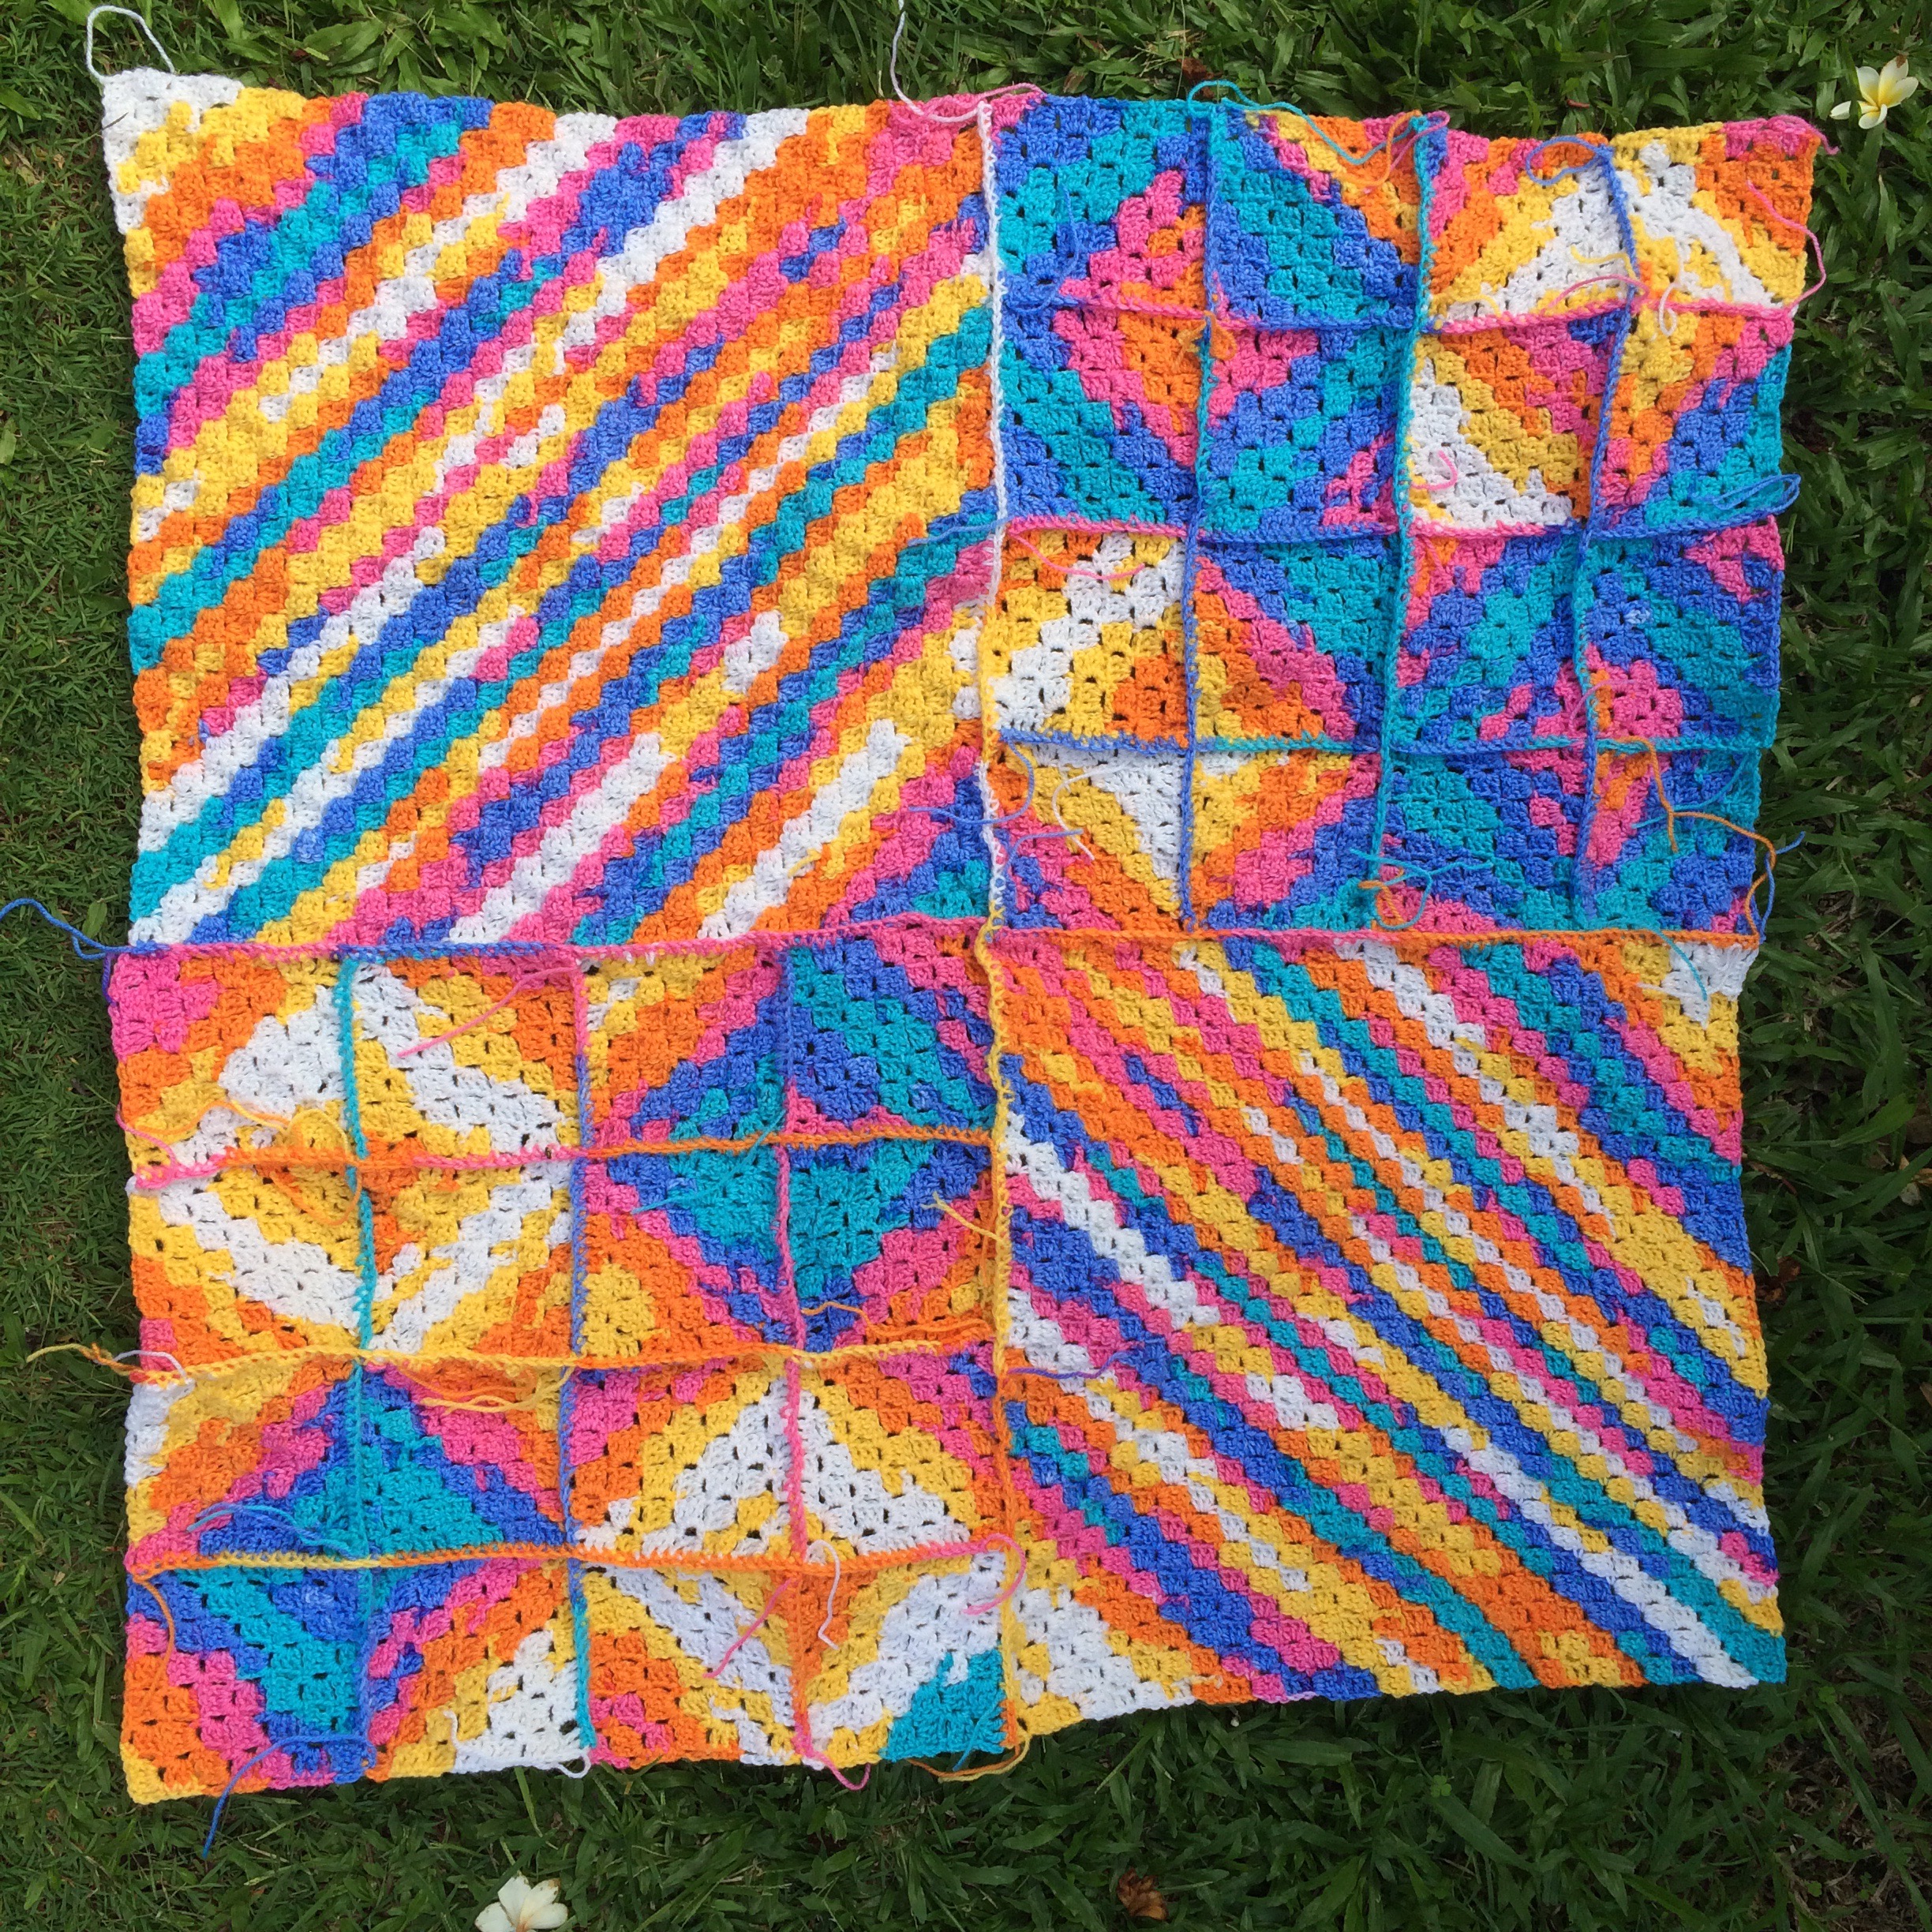
The corner to corner pattern is really simple and quick to work up. By simply changing the direction of the square there are endless possibilities and ways to create something unique. These blankets require a bit of planning but the results are amazing. I like to make squares 10 rows x 10 rows and change colours half way through. There are no rules with these blankets and it’s easy for your creativity to take over!
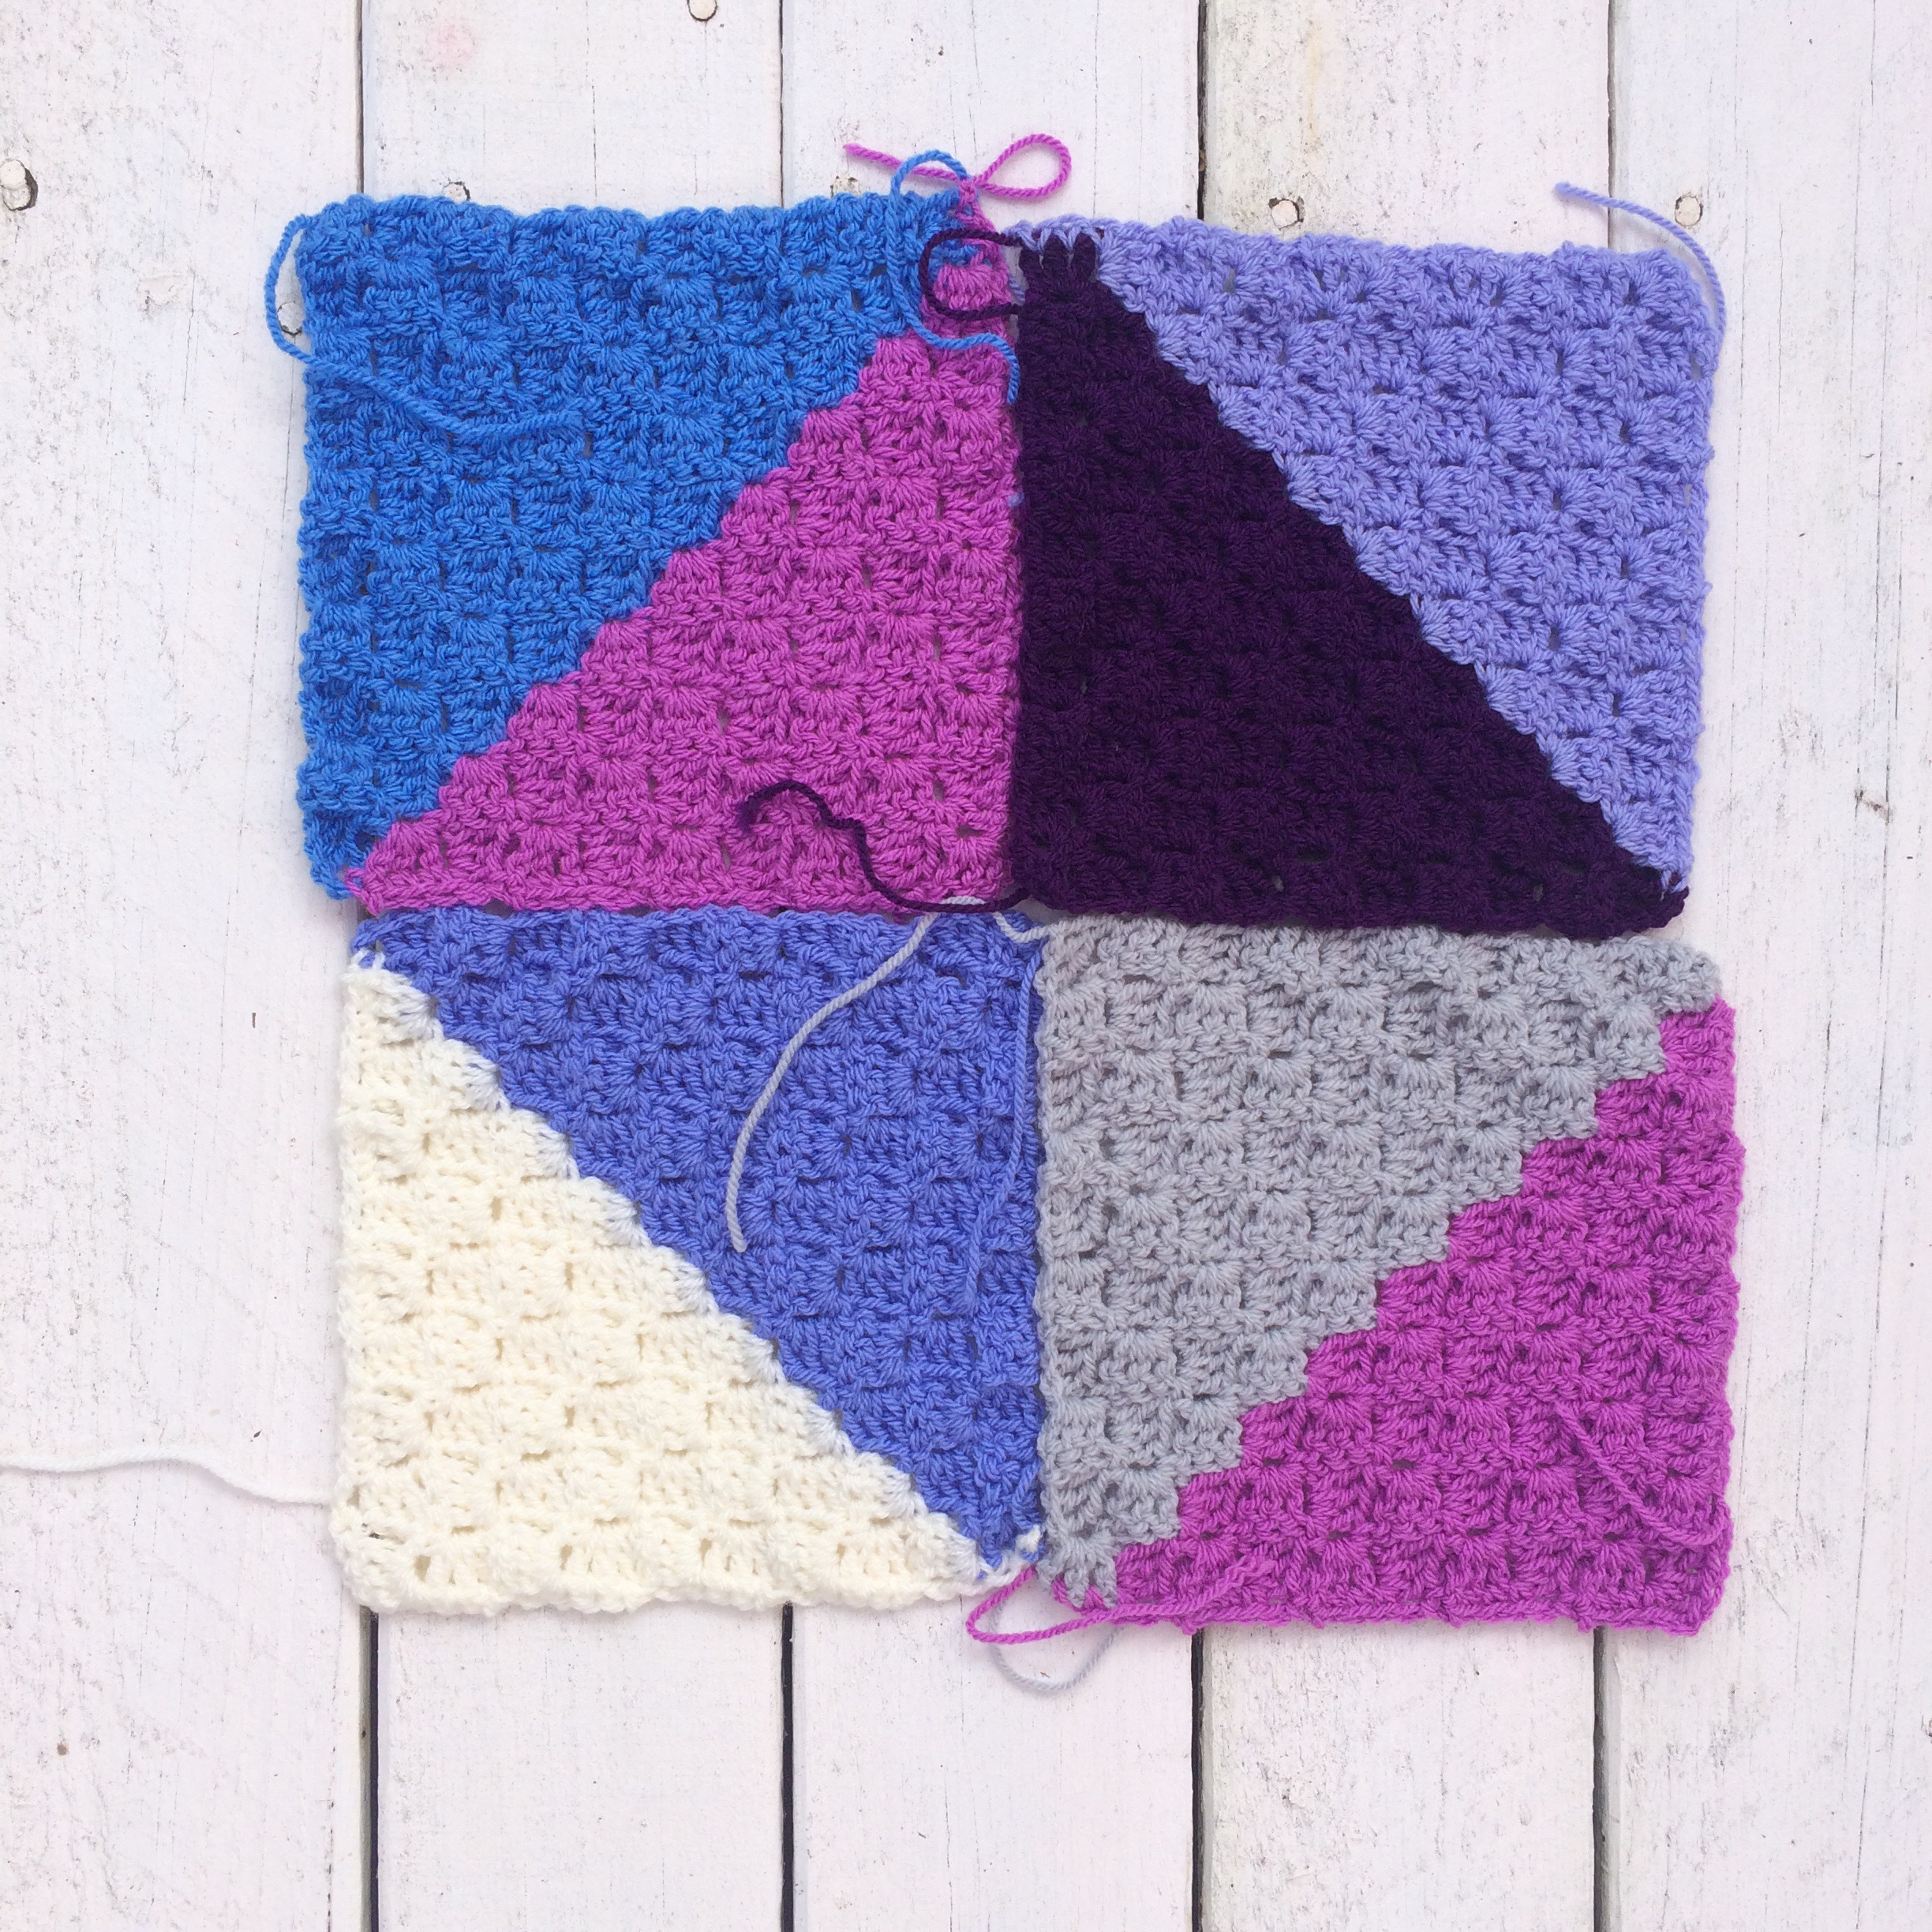
Idea 1.

This is great for a feature colour. The diamond pattern would look great repeating over the blanket!

IMG_1602
Idea 2.

This would make a chevron style blanket. Use two colour for a bold look, or choose 1 bold colour, and 2 similar shades for a cool 3D look.
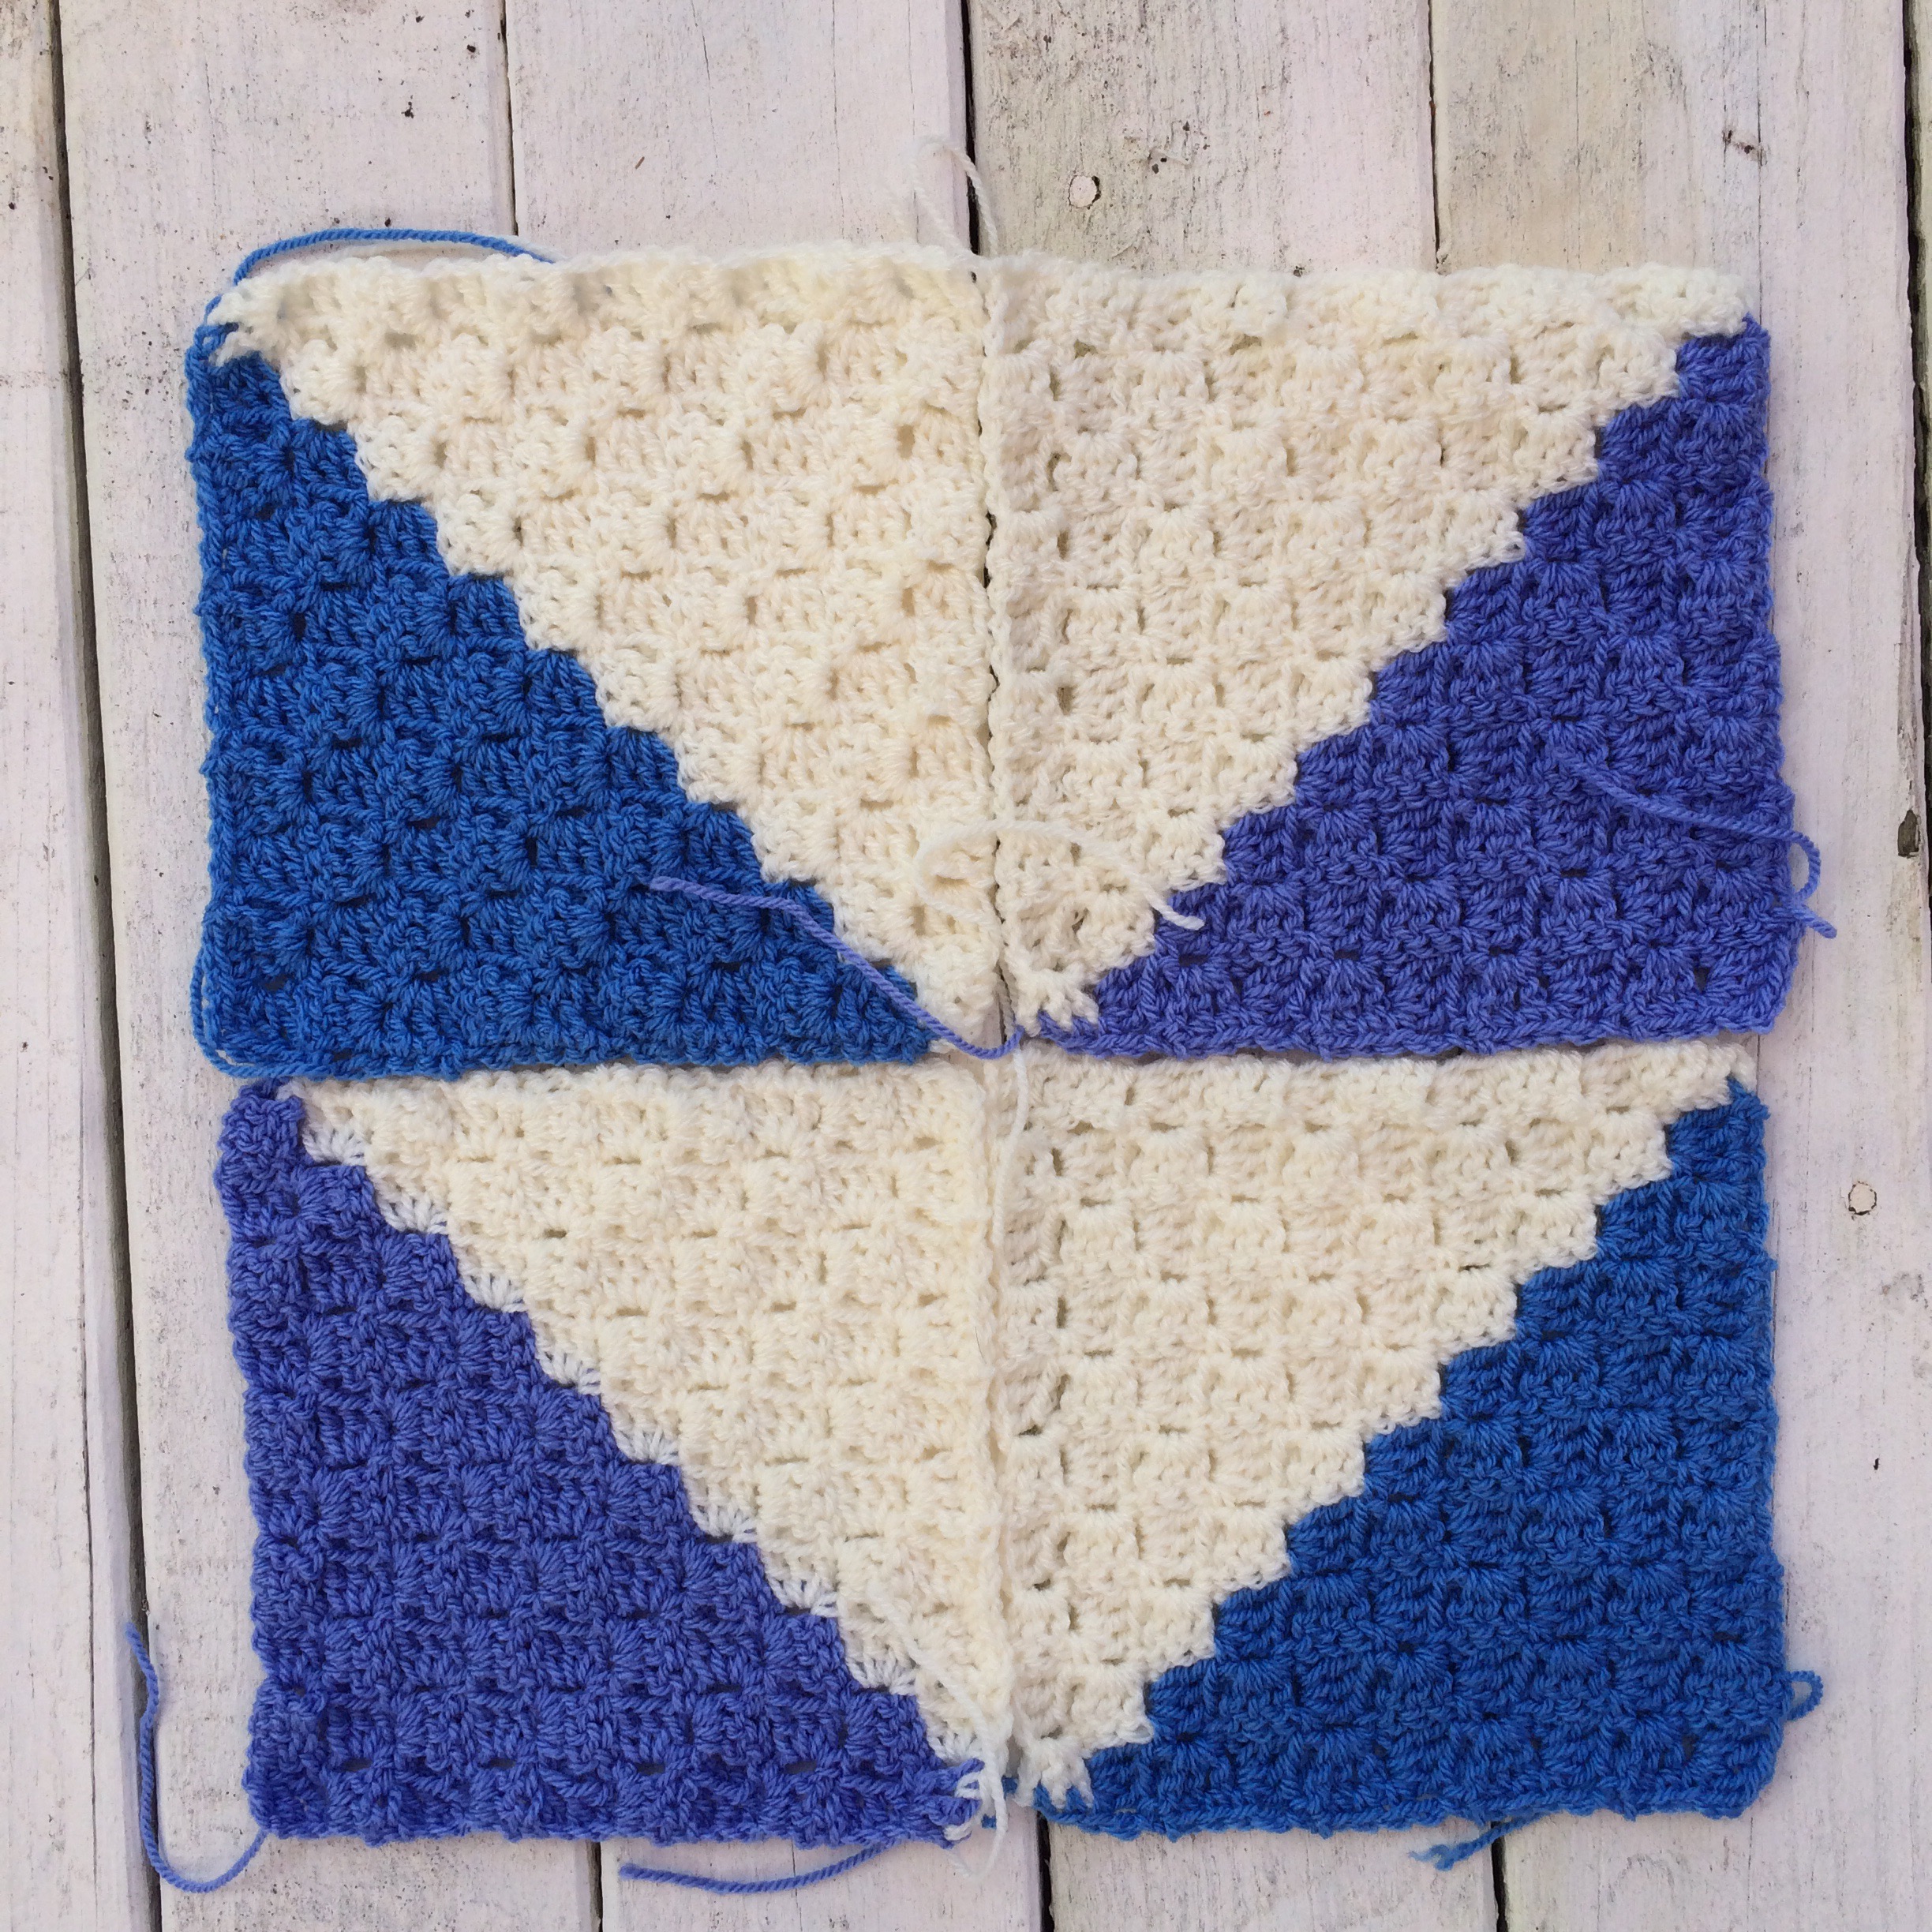
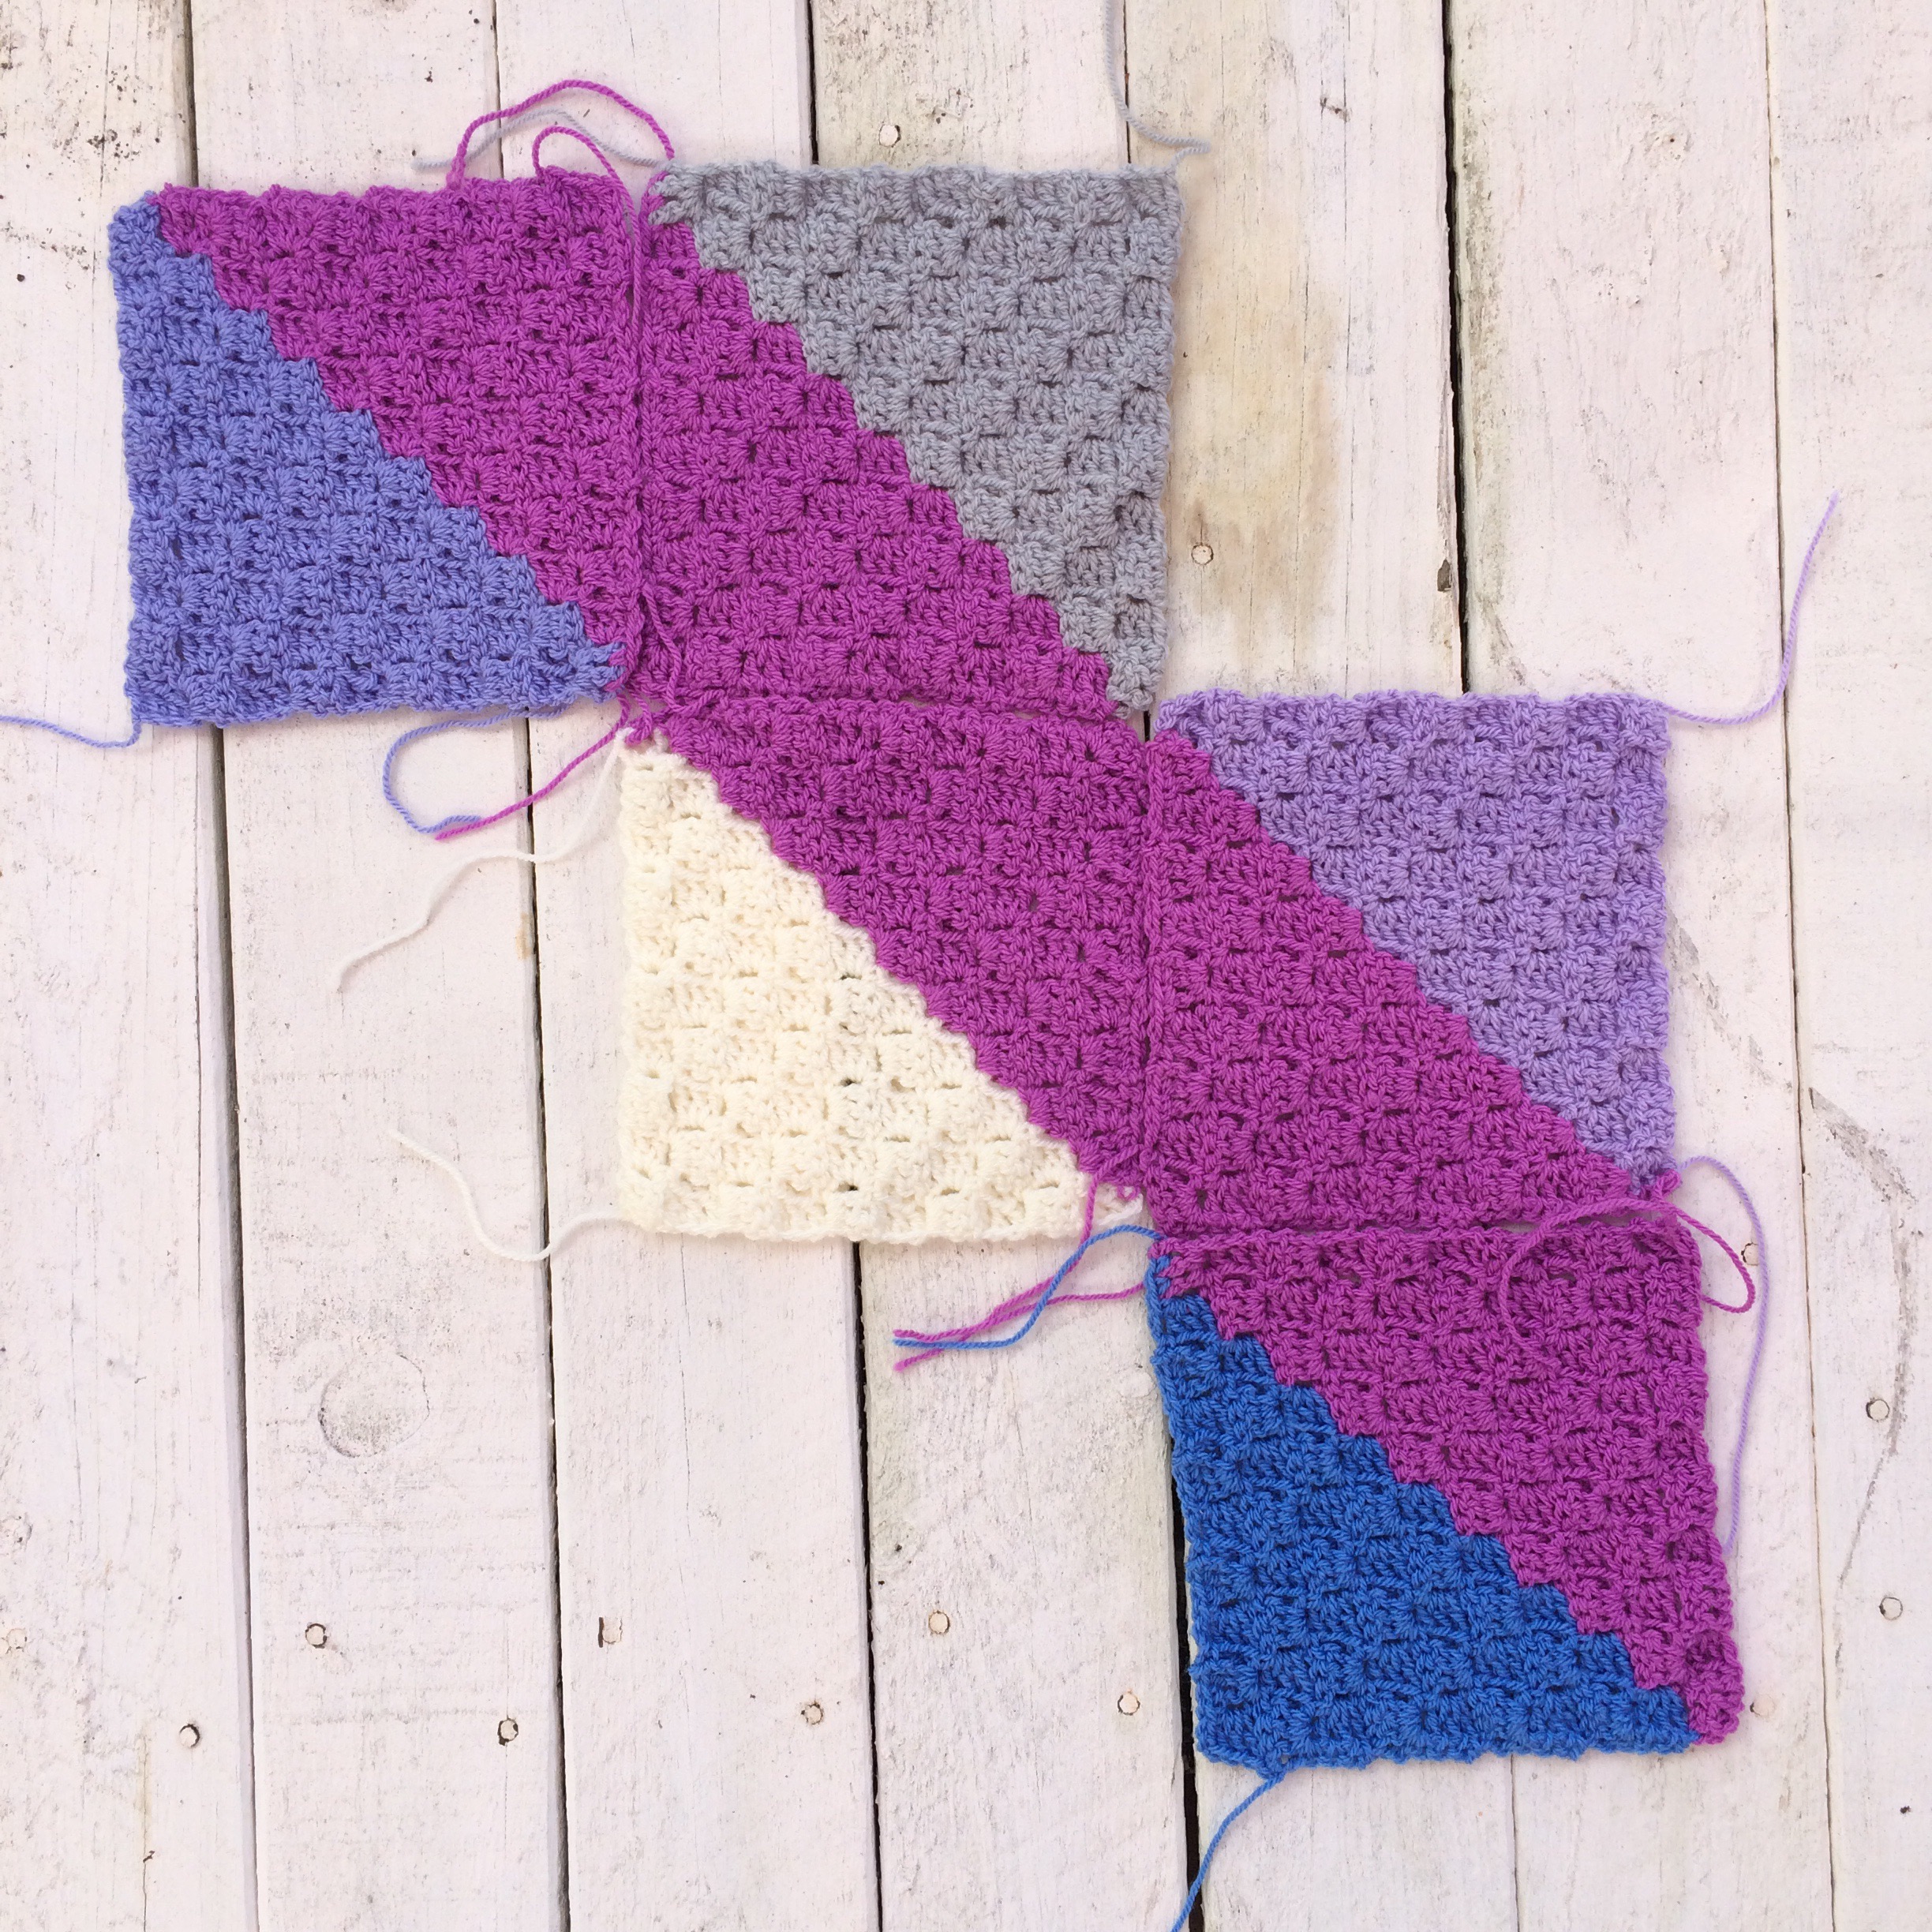
 IMG_2169

Idea 3.
With a big of planning on paper before you start this blanket would look fantastic! Imagine bold diagonal lines! There are several ways to customize this blanet too, choose 1 bold colour and have the diagonal line repeat every second ‘row’ or have the whole blanket as several diagonal lines!


IMG_2170

Idea 4.
This is a cool design which looks best with 3 colours. Choose 2 similar colours for the centre and 1 bold colour for the outside. You can also customize this by having another set of colour and creating a checkerboard effect.


IMG_2171

Idea 5.
This is an awesome idea to make a colourful blanket with bold shapes and lines. The repeating pattern would look great or mix it up with another set of colours.

IMG_2172


Advertisement

Food colouring + wool =?

Over the weekend I found some 100% wool on sale for $1/50g! Naturally I brought 22 balls. I decided to turn the off white yarn into something bright and funky that I could use to turn into a brilliant blanket.
I had previously dyed about 100g and had mixed results.
You will need
* Bucket
* White vinegar
* Food colouring
* Water
* Gloves
* Microwavable container
* Microwave
* Plastic to protect where you’re working
* and your wool. I have only tried this with 100%.
Fill your bucket with 2/3 parts tempered water 1/3 white vinegar. Add your wool. Make sure it’s fully submerged. Let this soak for anywhere between 30 minutes to overnight.
While you’re waiting you can get your other items ready. Water down your food colouring to 90% water 10% dye.  Separate these buy putting them into empty yogurt containers or similar.
Make sure your area is covered in plastic. I would recommend doing this outside on a surface that you wouldn’t mind getting colouring on. It’s very messy. I have ruined my bathroom tiles.
Once your wool is done gentle squeeze out the water. And now the fun part begins.
Please wear gloves or else you’ll get lovely coloured hands for a week. It’s awkward to explain why your hands are green and purple, trust me.
I dipped one end of the wool into the container and squeeze out the colour. Then dip the other and squeeze. Now it’s time to mix the colours. I find squashing the wool together gives great results. Don’t over mix the colours because brown happens.
When you’re happy with the result place into your microwavable container. Repeat until all balls are done.
Gently cover with cling wrap or similar and place in the microwave for 5 minutes. Remove and allow it to cool completely. It’s very hot, be very careful. Once cool place back into the microwave for 5 minutes. Remove and allow it to cool completely.
Once it’s cool gently rinse until the water runs clear. Squeeze out the excess water and place in the sun to dry. Ta da! It’s done. Admire your newly coloured wool!
This isn’t a quick project, It takes time to let the wool sit, cook, cool, and cook again. Then you need to wait for it to dry.
But eventually you are left with really unique wool! Do not expect every ball of wool to look the same, mixing colours can create some unexpected results. I advice to practice before you dye a whole lot.

The pictures show a blue/pink/purple mix and a rainbow mix.
I am not an expert on this so am still learning 🙂

Tale of the white blanket

ThatGirlWhoCrochets-WhiteWoolMy cousin came to me to ask to a blanket for her new lounge. Delighted I asked what colour she had in mind. Imagining lovely blues, green, and greys, my dreams were slowly dashed when we requested white. Why? I thought to myself! At least it’s not solid black, in which case I would have sent her a bill for my glasses which I would have needed! After trying to talk her out of it, and failing, I began to look for some yarn. She requested a chunky blanket, which is good because i’ll be able to finish it quickly! I found this Red Heart yarn on http://www.loveknitting.com and quickly ordered it! Super fast shipping too, especially to my island home! So 12 lovely squishy soft balls of yarn are in my possession. They are aran weight so should crochet up lovely and thick. Wish me well as I bravely step into the world of an all white blanket!

Finished: Watercolour Rainbow Blanket

IMG_1930

This blanket took me a while to make. I wasn’t really focused on it and used it as a filler in-between the other projects. I originally wanted to make them all squares and sew them together. But it was dragging on and I figured I need it finished and out of my way.

I made 16 7×7 squares and 2 28×28 squares. The pattern in the wool was a happy accident! Each of the smaller squares took about 12 minutes each. Sewing them together has never been my strong point. I used clothes pegs to keep them from bunching up and it seemed to work. The ends are annoying me and I wished I had sewn them in as I went. Eventually I will finish this off properly.

I’m thinking about adding a small thin border in white or black just to finish it off nicely but that’s a job for another day!

Wool used: http://www.iceyarns.com/dancing-baby-yellow-white-pink-orange-green-blue

Pattern: Variation of this http://thecrochetcrowd.com/crochet-corner-to-corner-afghan-project-youtube/

Time spent: 5 weeks

Sari silk yarn

IMG_1907

I’ve been looking at these sari silk yarns for a while now and finally decided to buy some. Surprisingly it took less and a month to arrive from India! Ordering yarn online is always a challenge, I prefer to touch it and make sure it’s not too thick or thin. Also I like to see the yarn is quality and not cheap looking.

After opening my package I found 10 skeins of delicious yarn! I love the colour, the metallic threads and the highlights of blue and green. It’s a great rainbow and yet it still works. The yarn is soft and has a great texture too.

I’ll work on a blanket with this soon. I think I haven’t ordered enough but I shall manage with what I have!

Dreamcatcher

IMG_1625

Inspired at midnight I decided to make a dreamcatcher. I found the hoop online, but have since found my local craft store stocks them in the fake flower section. This hoop is 14 inches wide.

Covering the hoop took the longest, and making the star was very simple as I had made that pattern before. It took a while to figure out the best way to attach everything together.

I used some mixed yarn at the bottom to create a fringe. I love the effect and cannot wait to make another.